
Install Glance for Salesforce Package
This section will help you install and configure Glance for Salesforce (Lightning and Classic). Glance has two packages available in Salesforce. Our legacy package is under the namespace G4S, and our latest package is under the namespace Glance. This guide covers the new Glance build. If you are using the legacy G4S version, you can find its setup guide here.
If you wish to upgrade to the latest version, your session data from the legacy version will stay as Events, while session data from the new version will be stored as Glance Sessions.

NOTE: If you are upgrading the legacy package to the latest, you will need to rebuild any reports and dashboards you have on Glance sessions captured from Glance, and you will not be able to compare your G4S sessions with your Glance sessions in the same reports.
Uninstalling the legacy package does not delete events from the previous version.
From a high level, the steps you need to complete are the following:
- Install the Glance package.
- Configure user permissions.
- Configure Glance company settings.
- Configure single sign-on.
- Add the Glance buttons to your users' record pages.
Installing Glance for Salesforce
Follow the steps below to download and install the Glance for Salesforce package.
Prerequisites
Before you install and configure Glance within Salesforce, verify that you have:
- A Glance Account with a username and password.
- If you plan to do Cobrowse sessions, verify that your website is tagged with Cobrowse.
- If you plan to do Screen Share sessions, you have set up Glance Screen Share.
- If you plan to use single sign-on, obtain your API Key.
- Verify that you have deployed My Domain in your org.
Download the Glance for Salesforce Application
You can retrieve the latest Glance package here.
If you have questions, please contact your Glance representative or email Glance.
Install the Glance for Salesforce Package
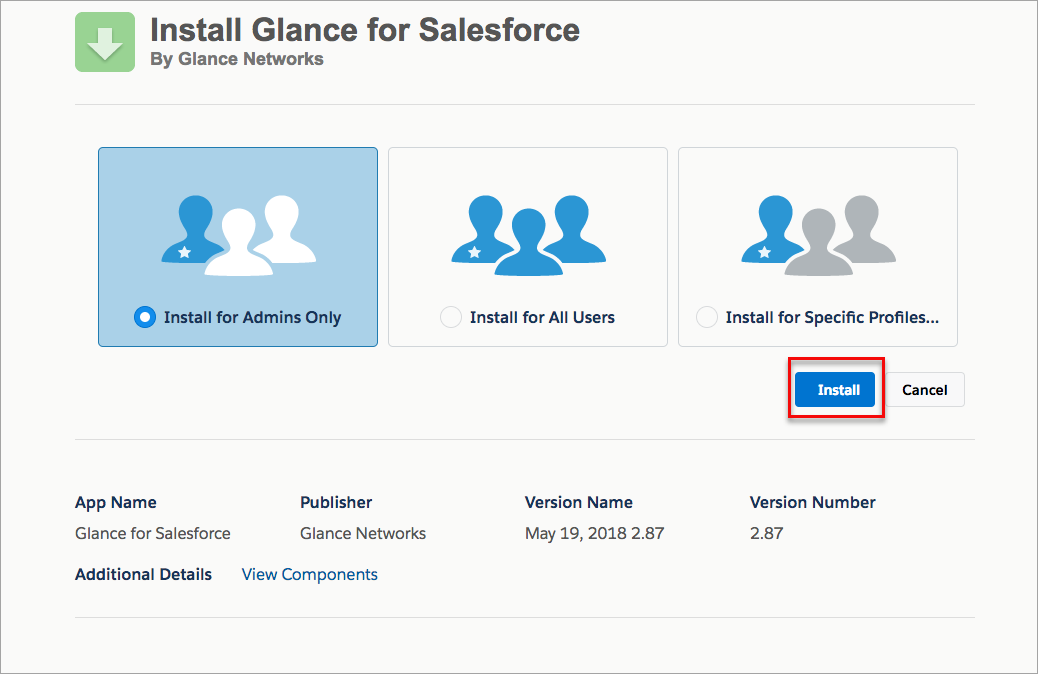
After you have received the package install URL, navigate to that page and follow these steps:
-
On the Install Glance for Salesforce page, select Install for Admins Only.
-
Click the blue Install button.
A pop-up window will appear asking you to approve third-party access.
-
Click Continue.
-
You will see the following message while the install is processing:
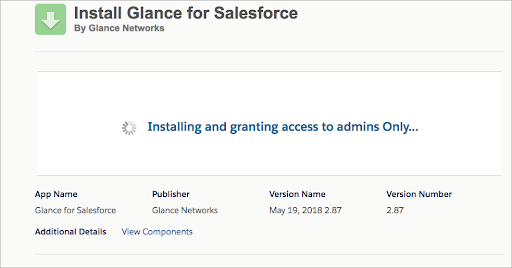

NOTE: The package install process may take a few minutes. Salesforce will send you an email notification after the install is complete.
After the install is complete, check your clickjack protection settings.
Check Clickjack Settings
Salesforce has a feature to protect against clickjack, a malicious technique of tricking a user into clicking on a different link from what the user perceives, potentially revealing confidential information or allowing others to take control of their computer while clicking on seemingly innocuous objects, including web pages.
If you have enabled some clickjack settings, you need to whitelist your Salesforce org domain to start Glance sessions.
-
Go to Setup (gear icon).
-
In the search, enter Session Settings.
-
Go to the Clickjack Protection section.
-
Check to see if "Enable click jack settings for visual force pages" is selected.
-
If the setting is not selected, there is nothing you need to do.
-
If the above is selected, add the url for the salesforce org to the Trusted Domains section below, and click Add Domain.
-
Click Save.
NOTE: If you use Safari, go to Privacy settings and verify that “prevent cross-site tracking” is not selected.