
Adding Glance Session Details to a Salesforce Event Object
Glance for Salesforce automatically logs sessions as Events related to the object you start or join the session from. Session details are captured in Custom fields on the Event object.
The event is created immediately upon using Glance with some initial data. The remaining session details are added after the next scheduled synchronization.
Synchronization requires setting a Default Glance Admin in Glance Company Settings. The user selected must be an Admin for your company's Glance group.
In Lightning
To add Glance session details to an event object in Lightning:
-
Click the Gear icon in the top-right corner and choose Setup.
-
At the top of the page next to the Home tab, click on Object Manager.
-
Select Event.
-
Choose Page Layouts.
-
Click on the page layout your Glance users will use.
-
From the palette at the top, click Fields on the left.
-
From the palette, click and drag +Section under the Calendar Details section in the page layout.
-
For Section Name, enter Glance Session Details.
-
Leave everything else as is and click OK.
-
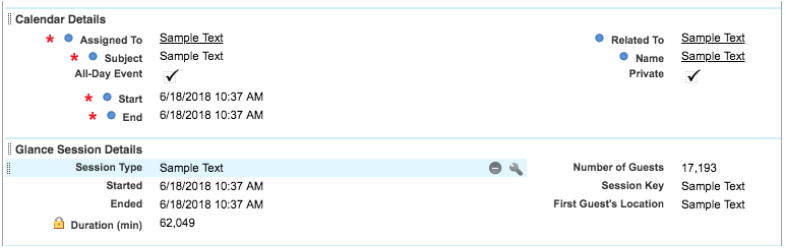
In this section, click and drag the following Fields from the palette at the top:
- Session Type
- Started
- Ended
- Duration (min)
- First Guest's Location
- Number of Guests
- Session Key
- Click Save.
In Classic
To add Glance session details to an event object in Classic:
-
From Setup, in Quick Find, type Event Page Layouts.
-
Click Event Page Layouts.
-
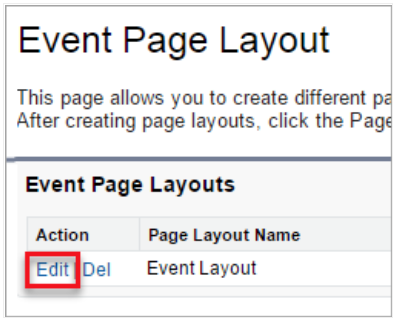
Next to the page layout your Glance users will use, click Edit.
-
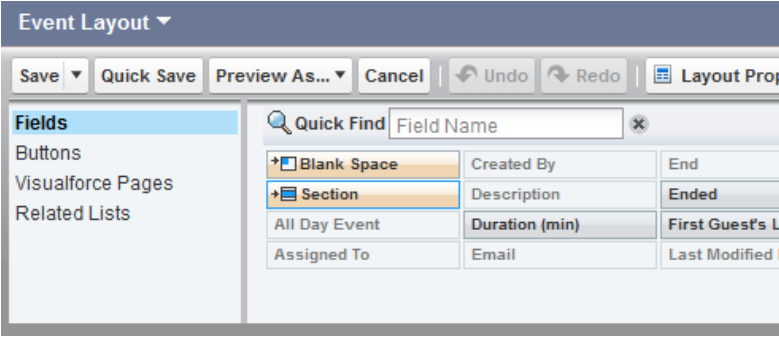
From the palette at the top, click Fields on the left.
-
From the palette, click and drag +Section under the Calendar Detail section in the page layout.
-
For Section Name, enter Glance Session Details.
-
Leave everything else as is and click OK.
-
In this section, click and drag the following Fields from the palette at the top:
- Session Type
- Started
- Ended
- Duration (min)
- First Guest's Location
- Number of Guests
- Session Key
- Drag and drop the desired fields to the newly created Glance Session Details section.
- Click Save, unless you want to add the Glance buttons to this page layout (directions below).
Add the Glance Show and View buttons (optional)
If you are planning to use Glance to give scheduled presentations, you can add the Glance buttons to the Event layout. You can schedule your presentation in Salesforce with your Glance session details.
To add the Glance show and view buttons:
-
Click on the Visualforce Pages in the left-hand panel of the Event Layout section.
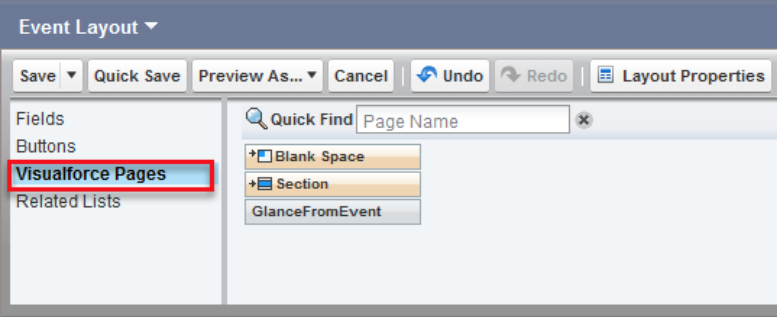
-
Drag and drop GlanceFromEvent to the desired section location. (In this example, it is displayed in the top row of the Calendar Details section.)

NOTE: When dragging GlanceFromEvent, the Event Detail section will turn green indicating you may release and place it in that section.
-
Point to the GlanceFromEvent box, and then click the Wrench icon.
-
Change the Height from 200 to 35 pixels, and click OK.
-
Click Save on the Event Layout box and exit the window.
Below is an example of the Show and View buttons added to an Event Layout:
