
Managing Genesys Administrator Settings
Configuration Layers
The customization options can be configured on the following Configuration Layer objects (from top to bottom):
- Workspace Application: the top-level, organization-wide configuration options.
- Agent Group: the agent group level options, which override Workspace Application level options.
- Agent: the agent level options, which override the Agent Group level options.
Only the top-level Workspace Application settings are required. The agent group and agent level settings are only required if you want particular groups or agents to have custom configurations.
Access Workspace Application
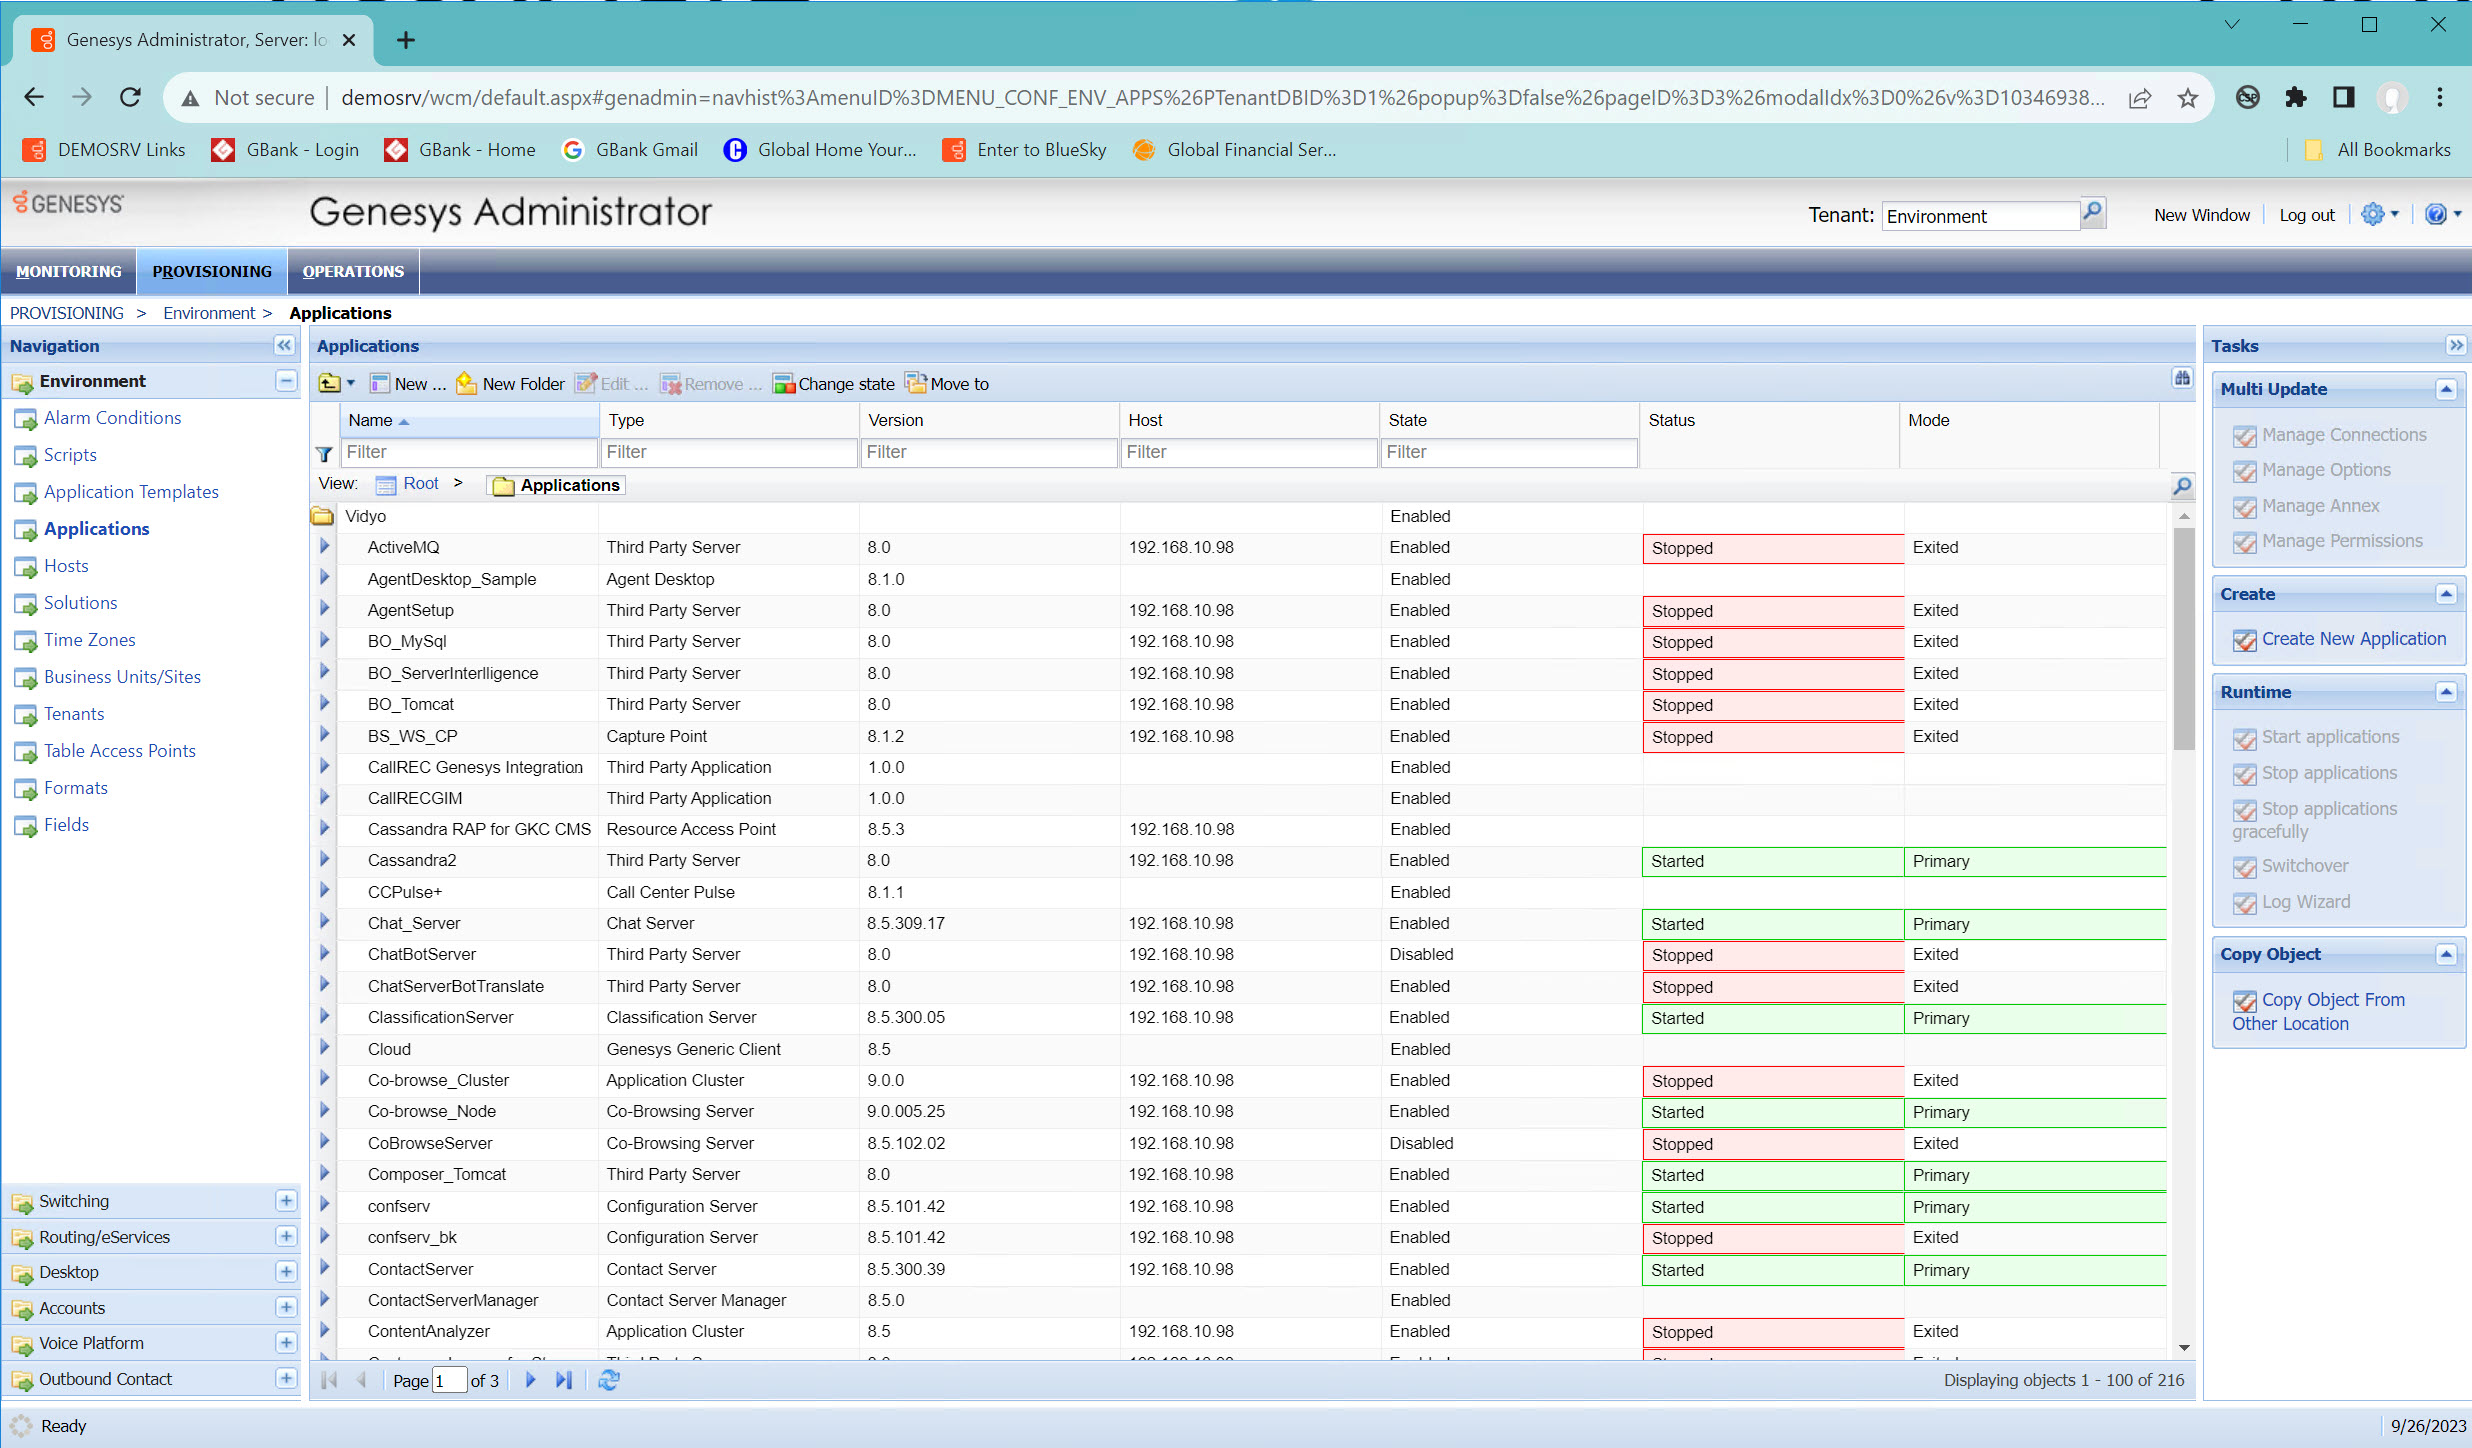
- Navigate to Provisioning > Environment > Applications.
- Click on Workspace Desktop.
- Click the Options tab.
- Filter the interaction workspace section with the keyword glance.
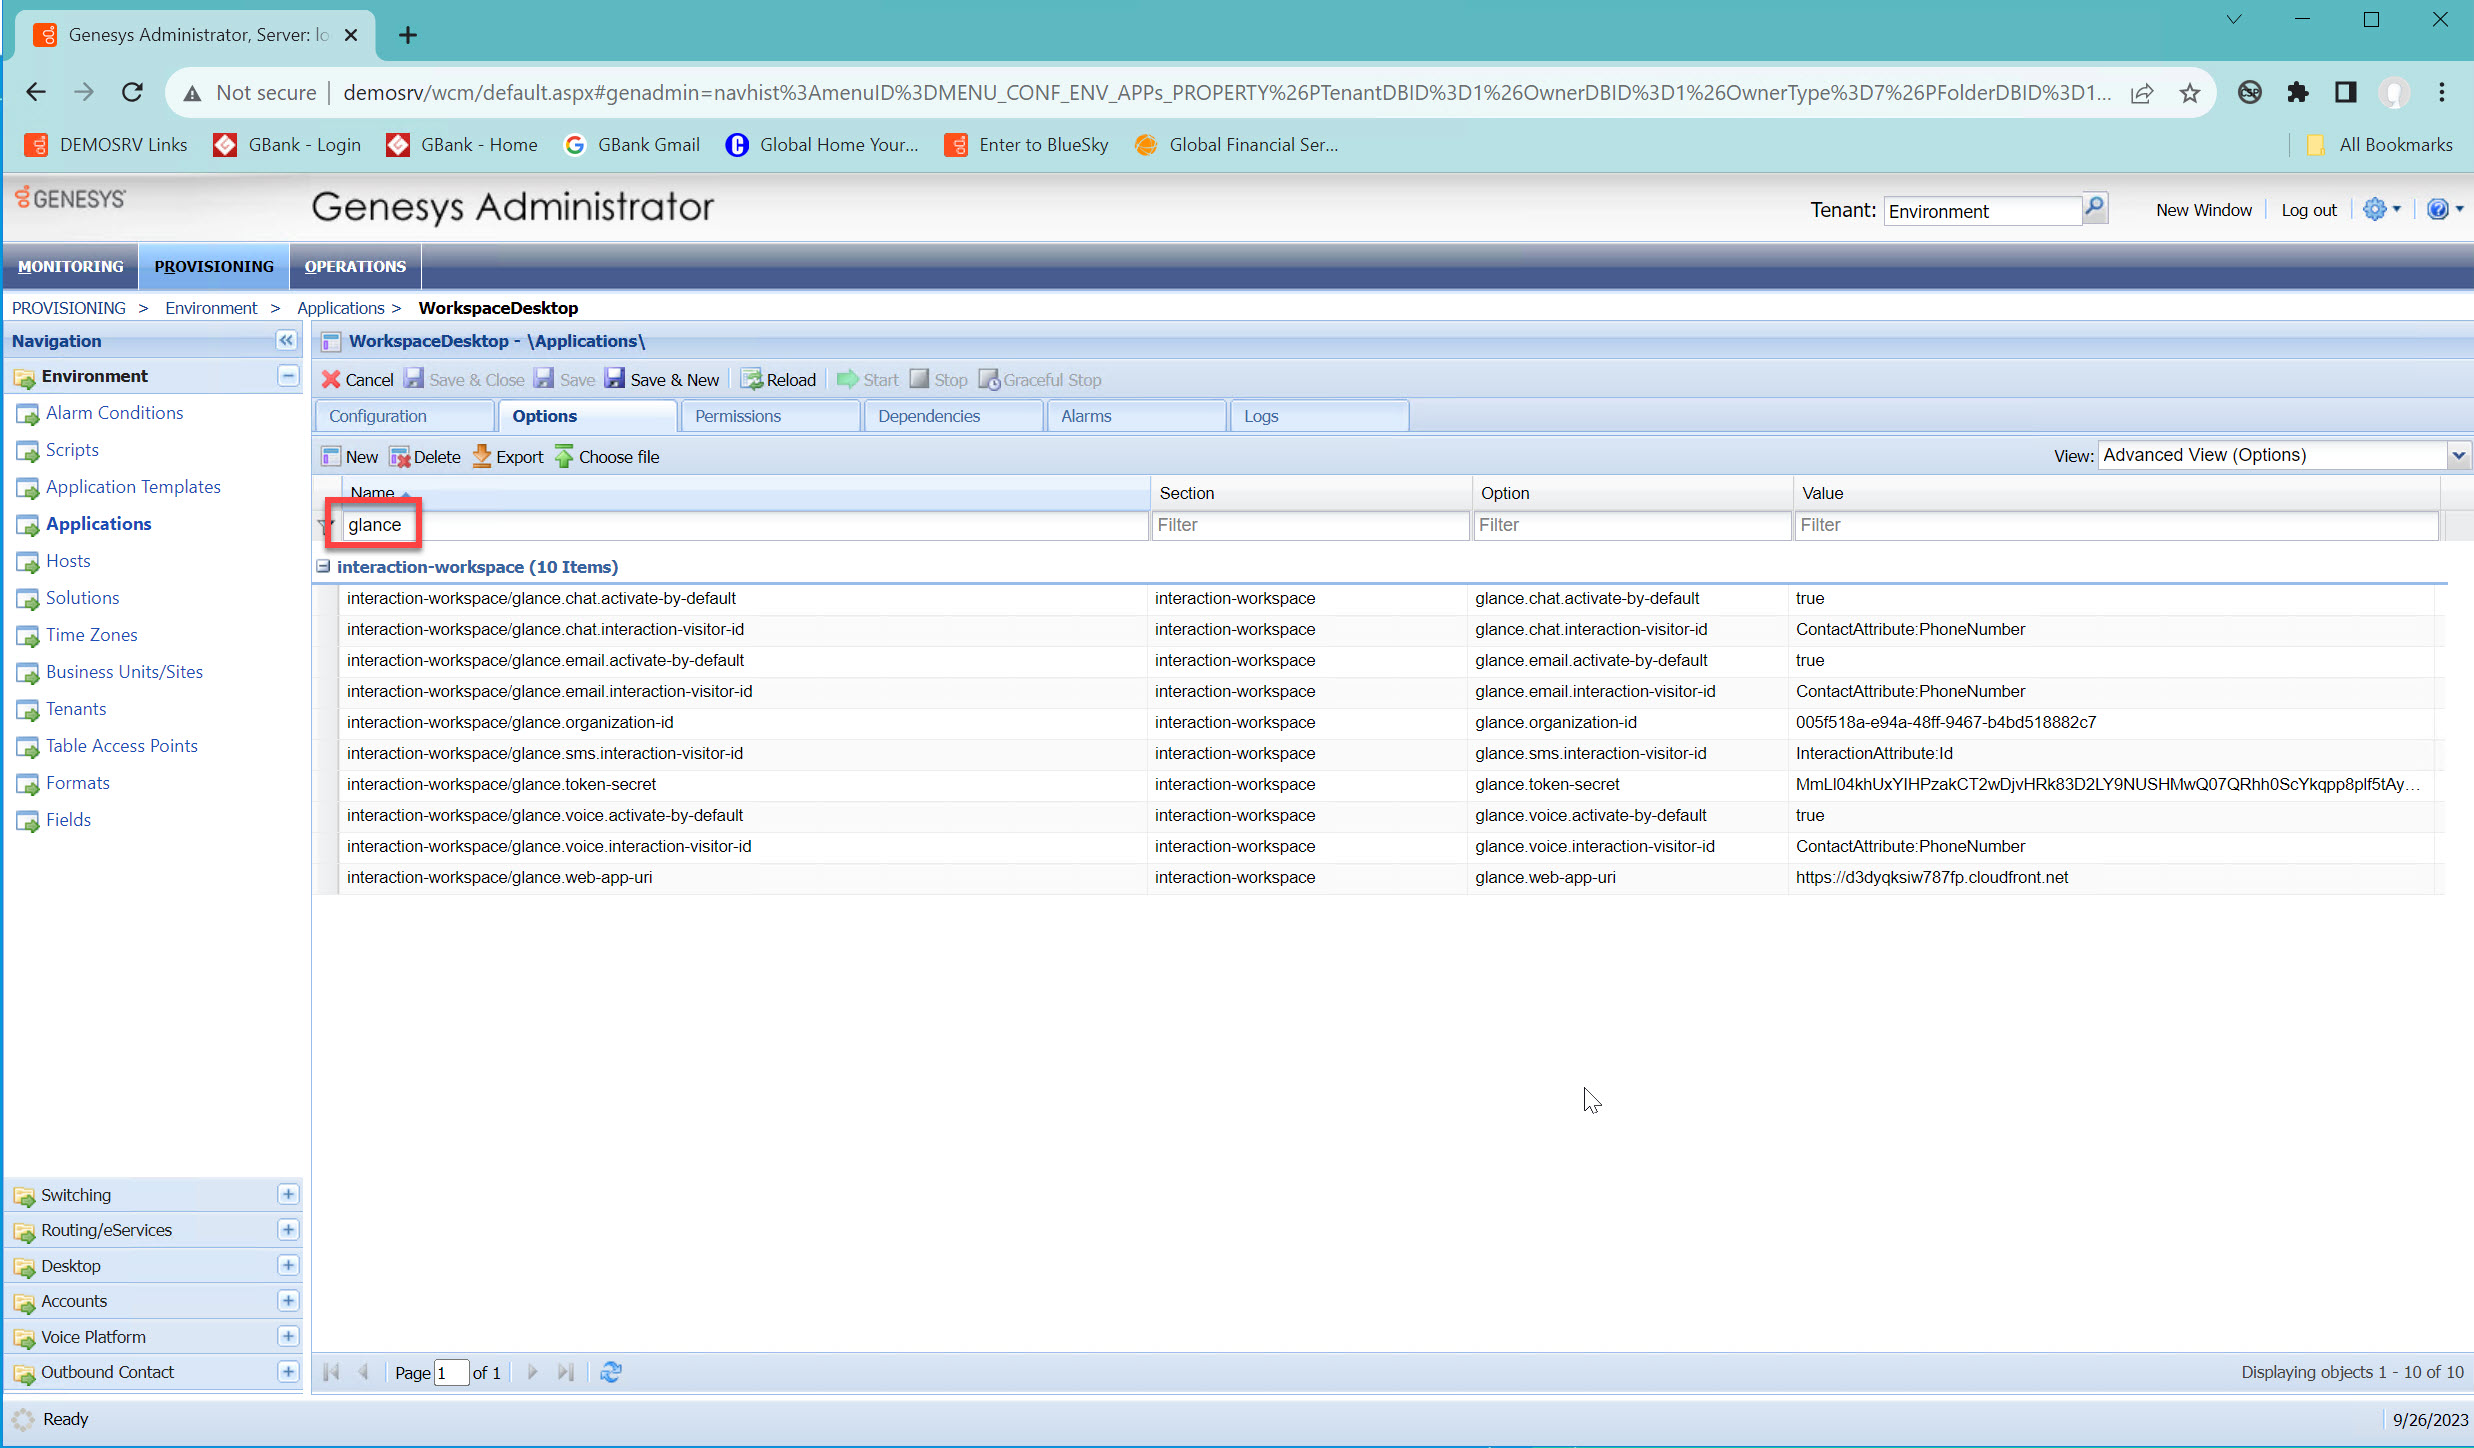
- Review the Config Options within the workspace.
- Click the New button to add additional options.
- Input the Section, Name, and Value based on the Configuration Options.
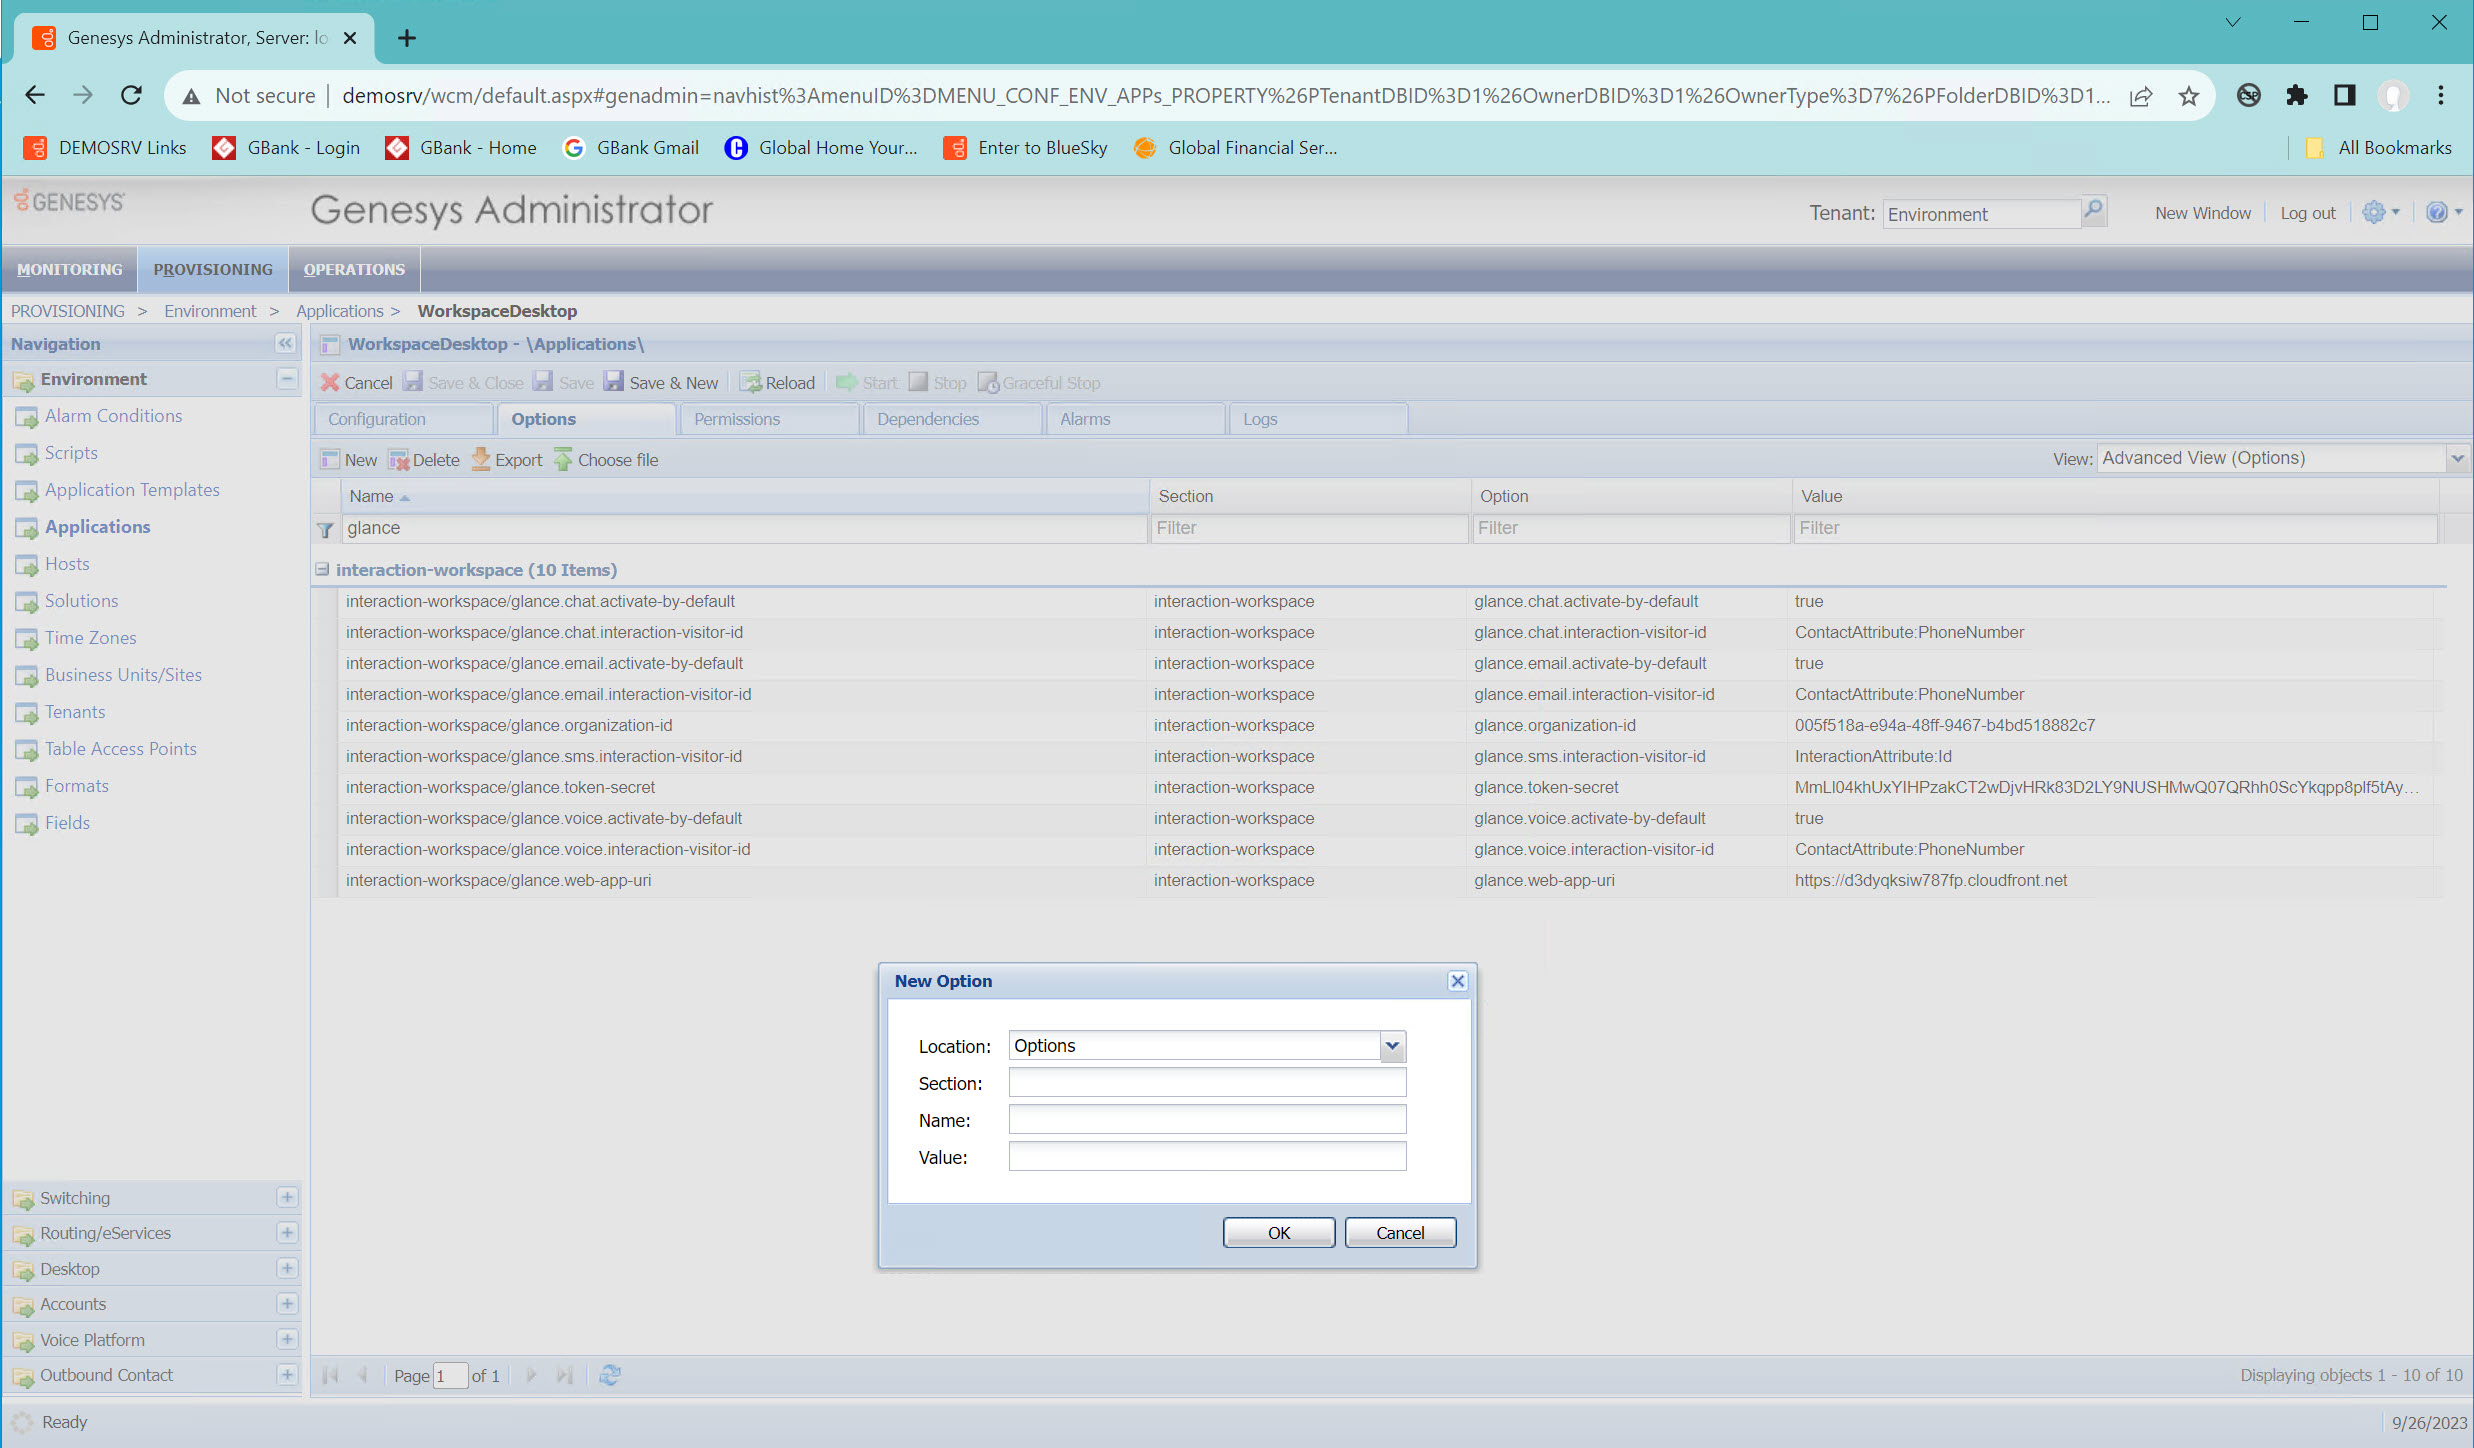
- Click OK.


Agent Group Level
- Navigate to Provisioning > Accounts.
- Click on Users.
- Double click on the user.
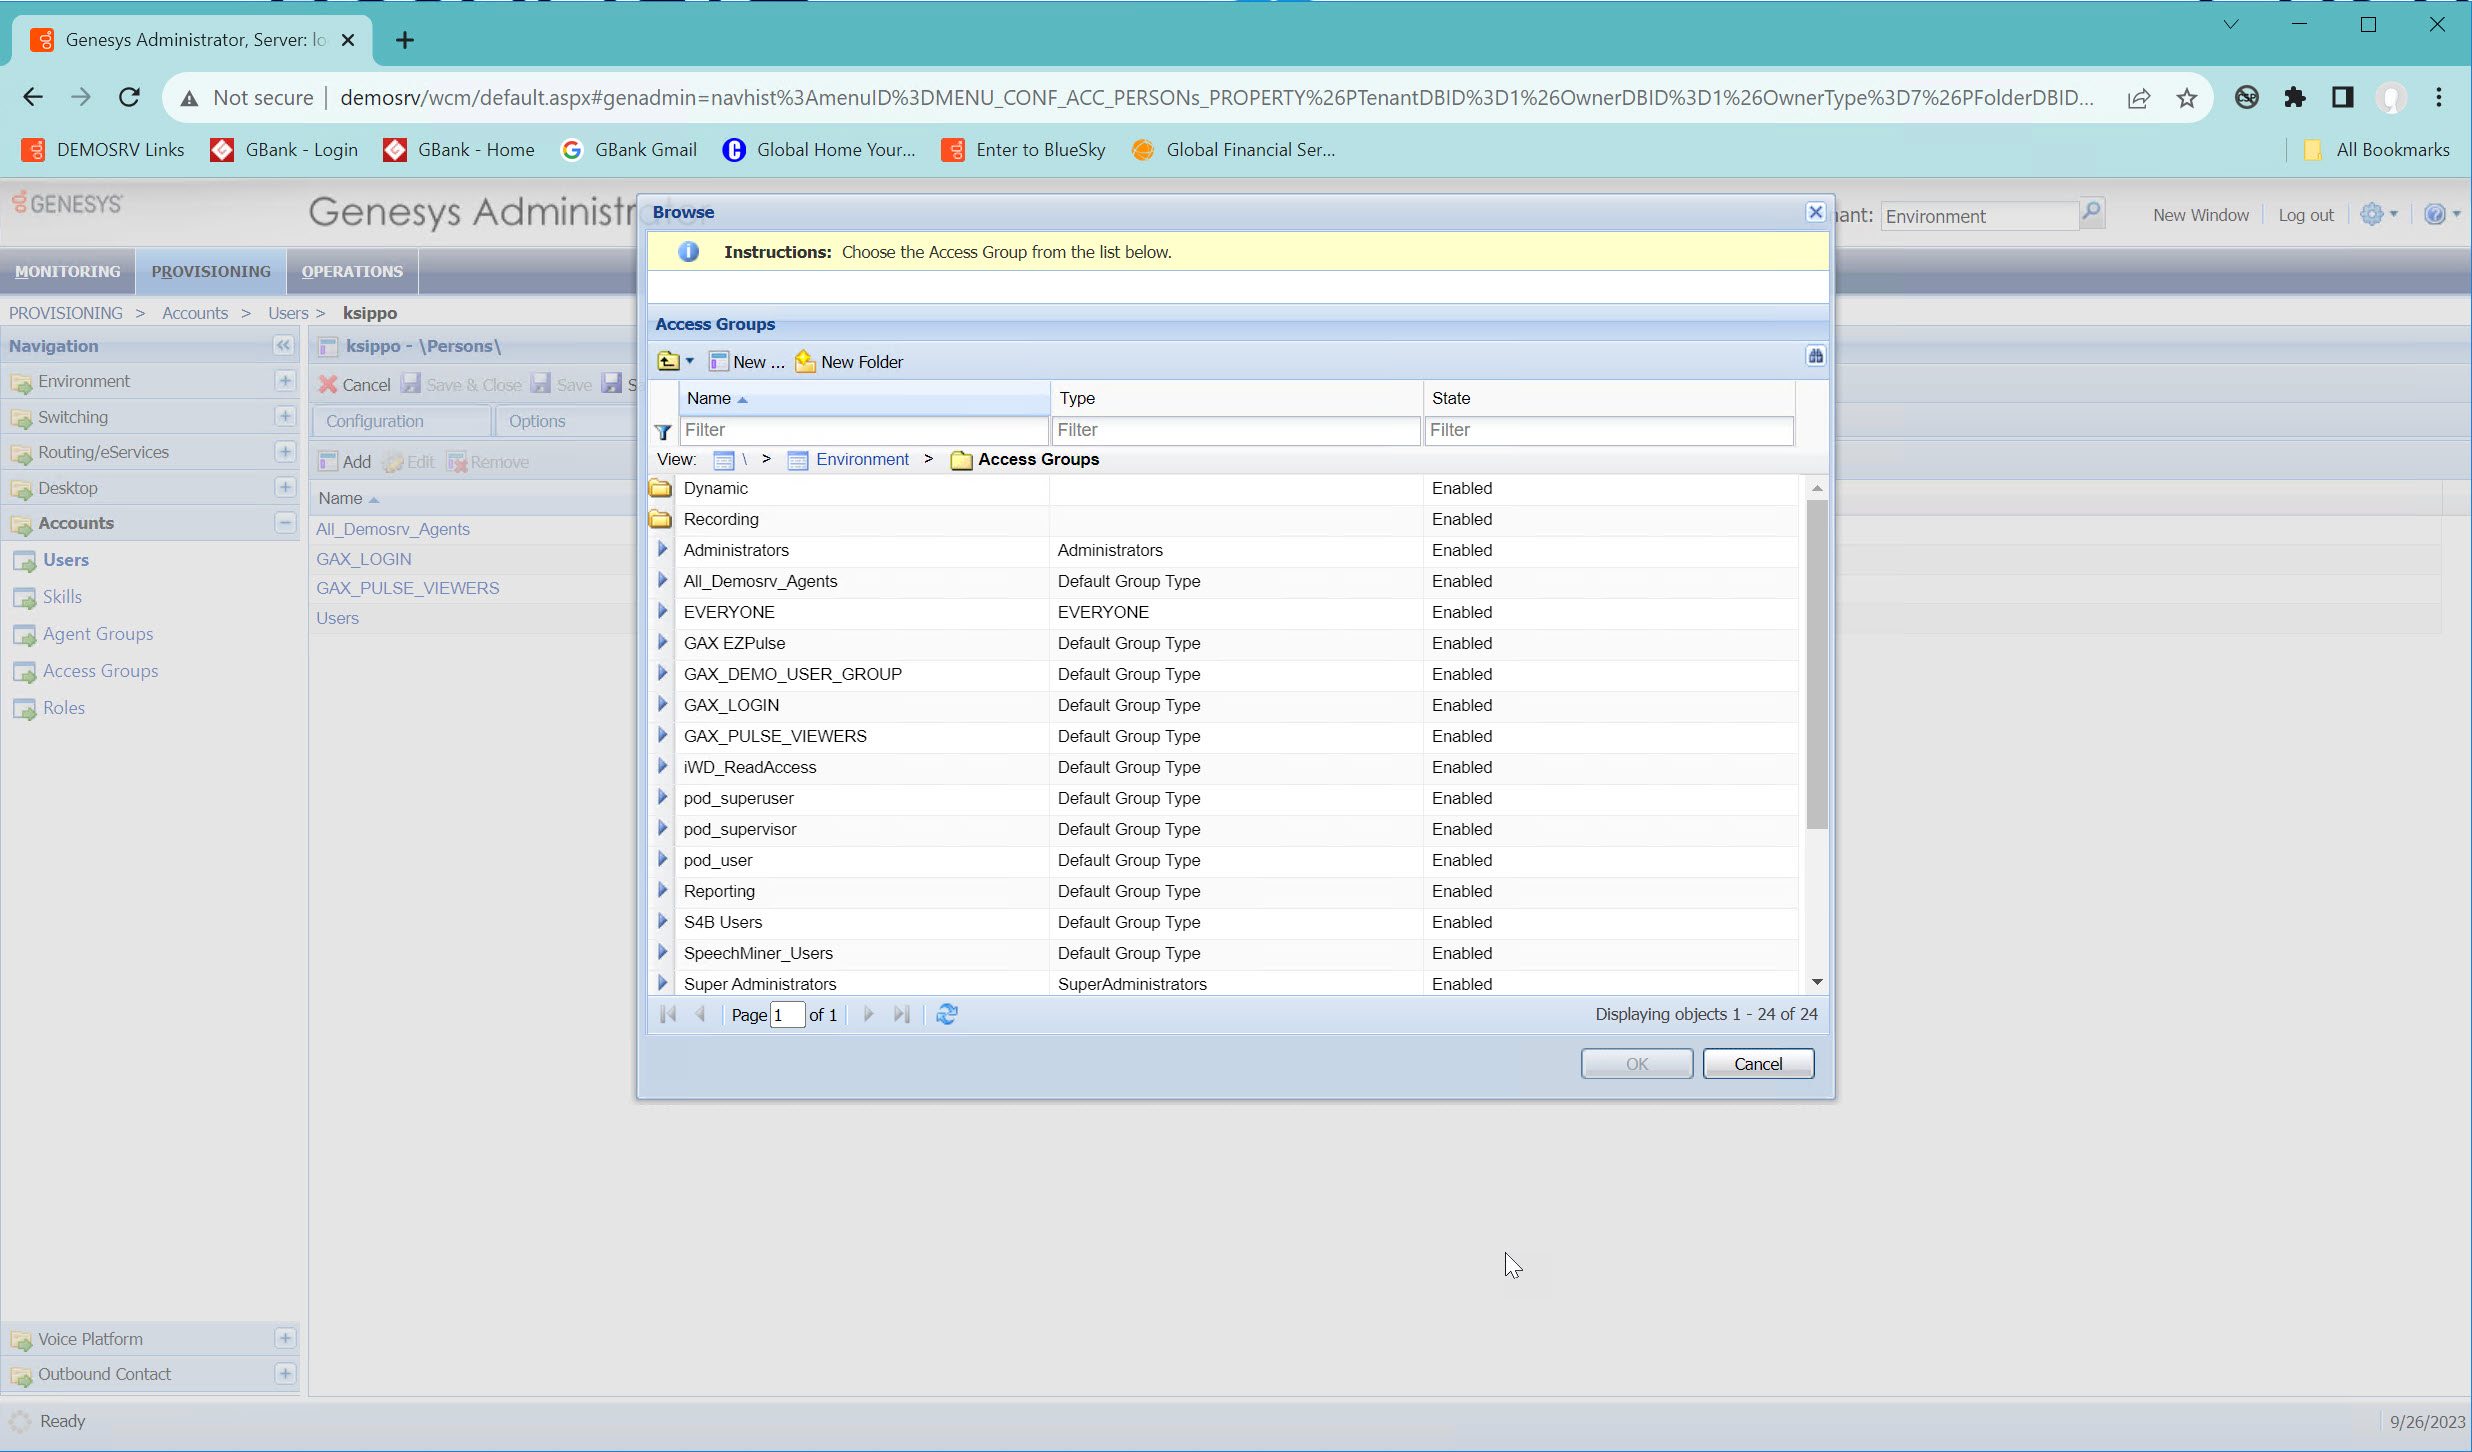
- Click the Member Of tab to review the groups the Agent is in.
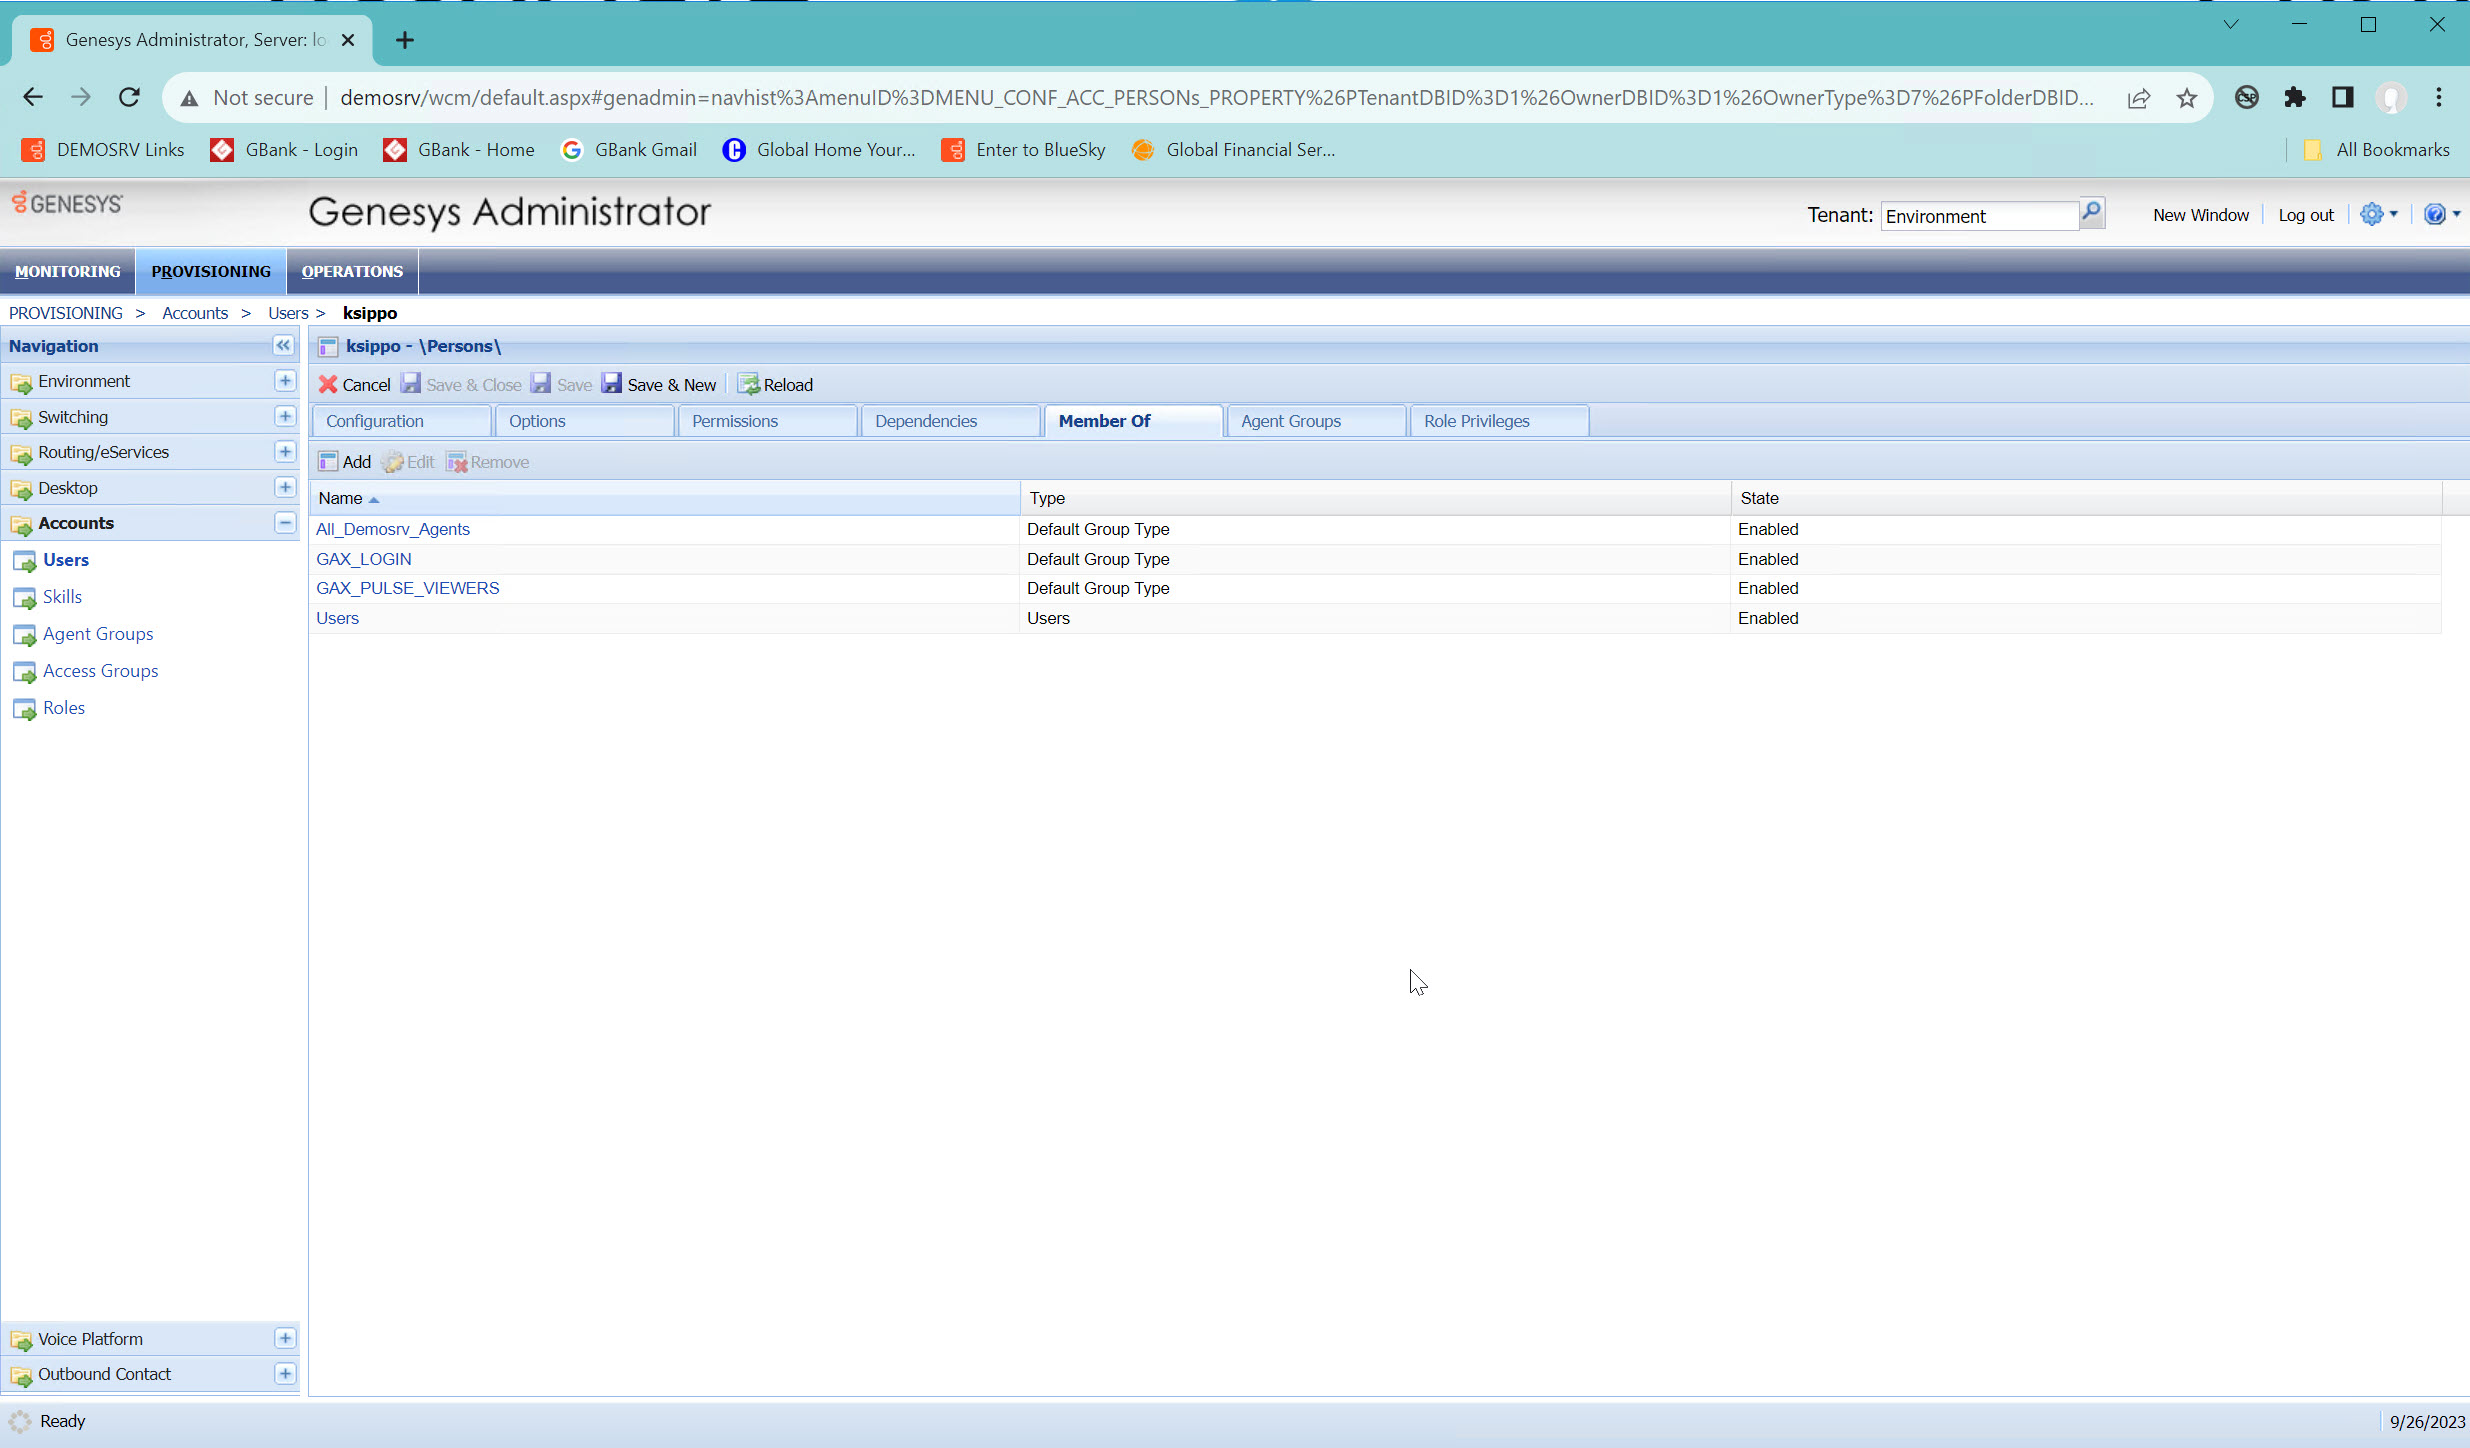
- Click the Add button to add additional groups.
- Select the groups that need to be added and click Ok.


Agent Level
- Navigate to Provisioning > Accounts.
- Click on Users.
- Double click on the user.
- Click the Options tab
- Filter the interaction workspace section with the keyword glance.
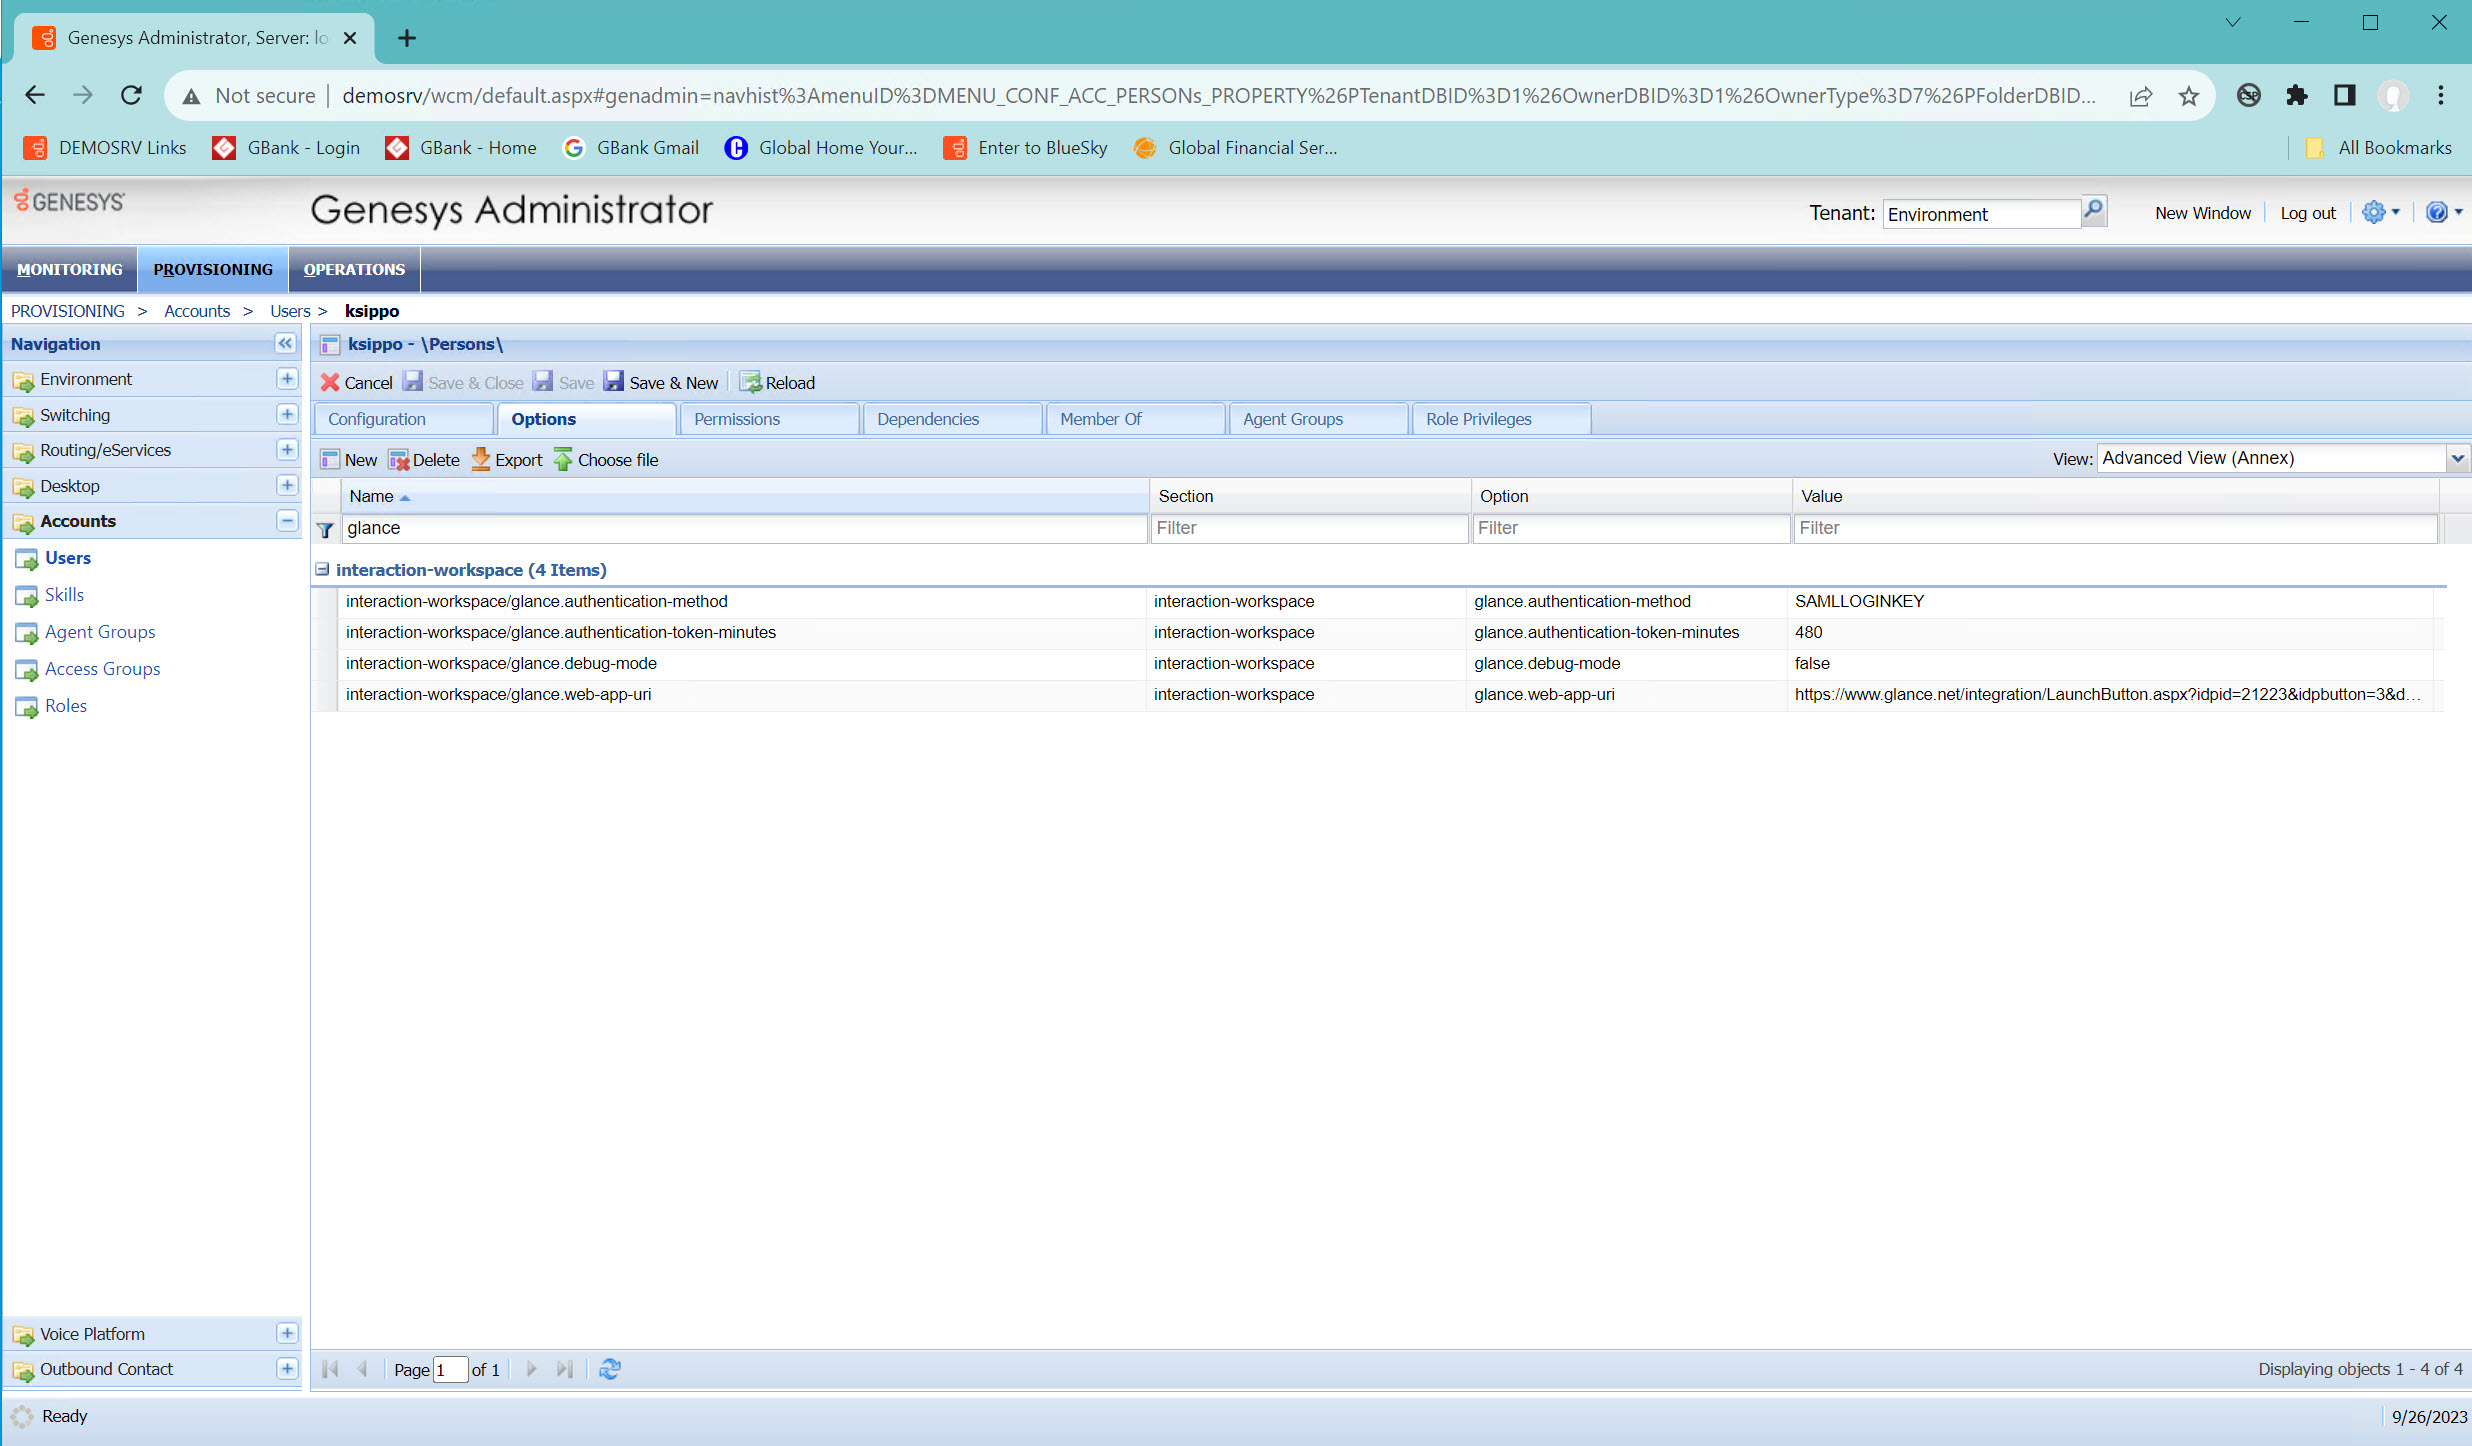
- Review the Config Options within the workspace.
- Click the New button to add additional options.
- Input the Section, Name, and Value based on the Configuration Options.
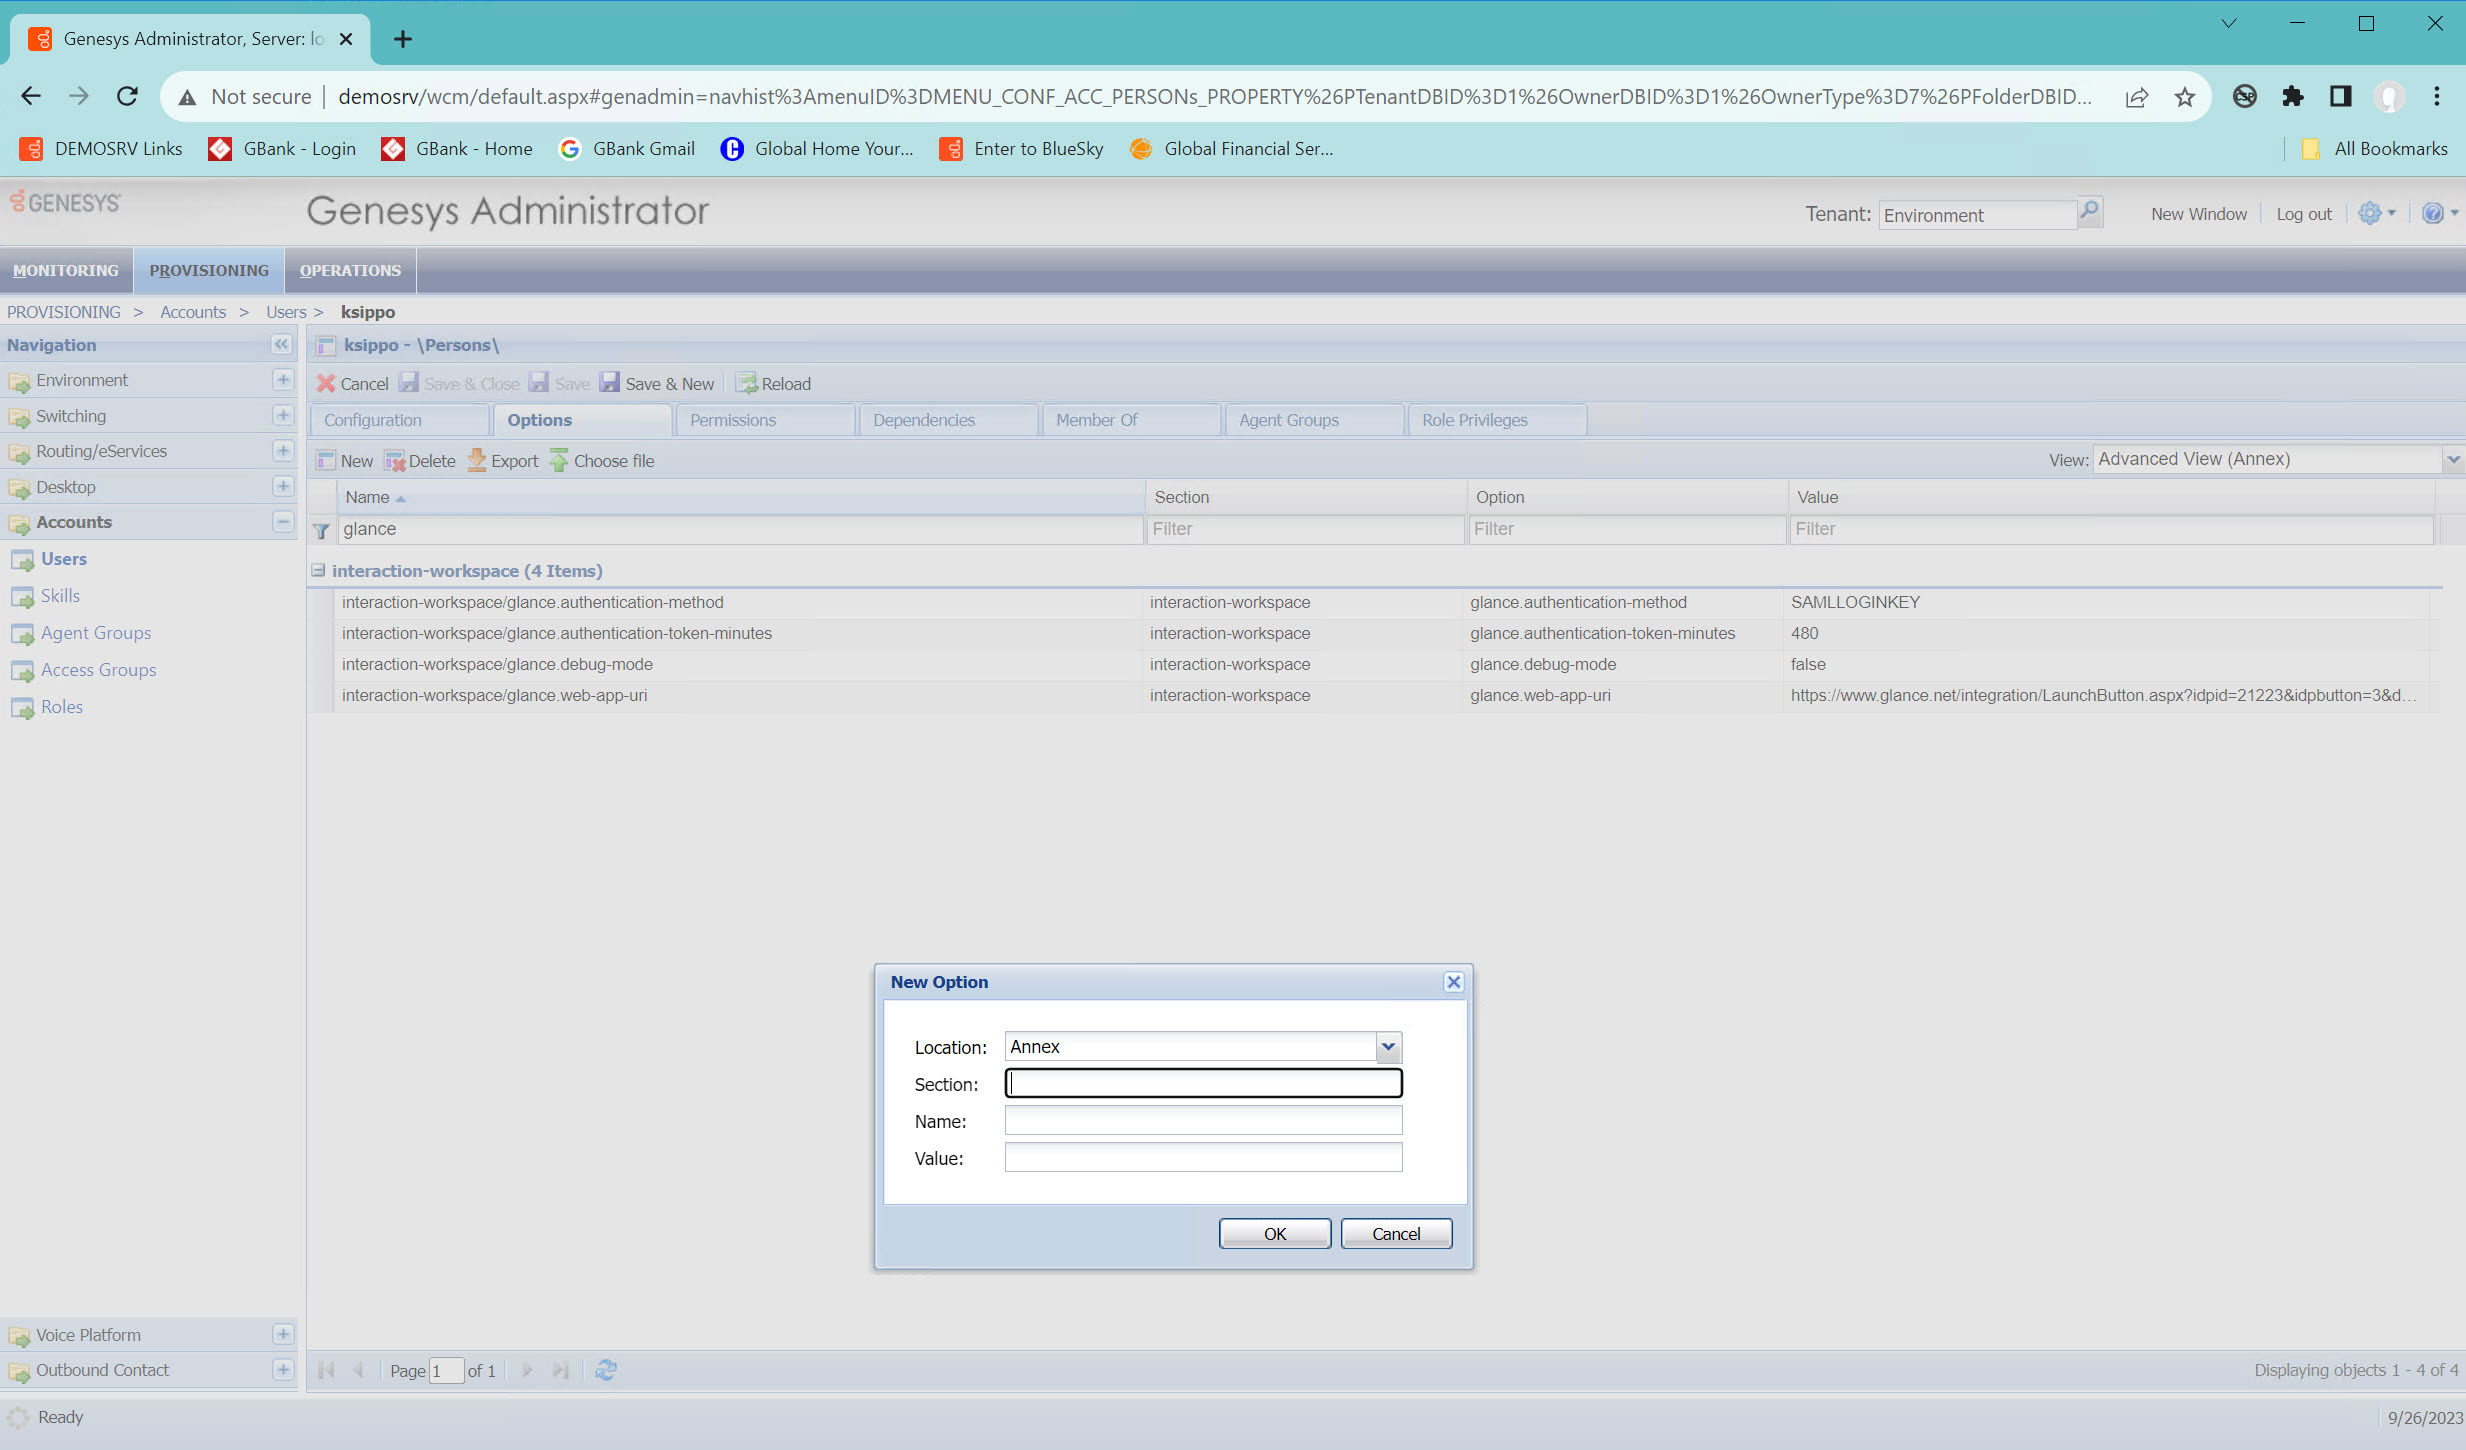
- Click OK.


Add Glance Role
- Navigate to Provisioning > Accounts.
- Click on Roles.
- Click New.
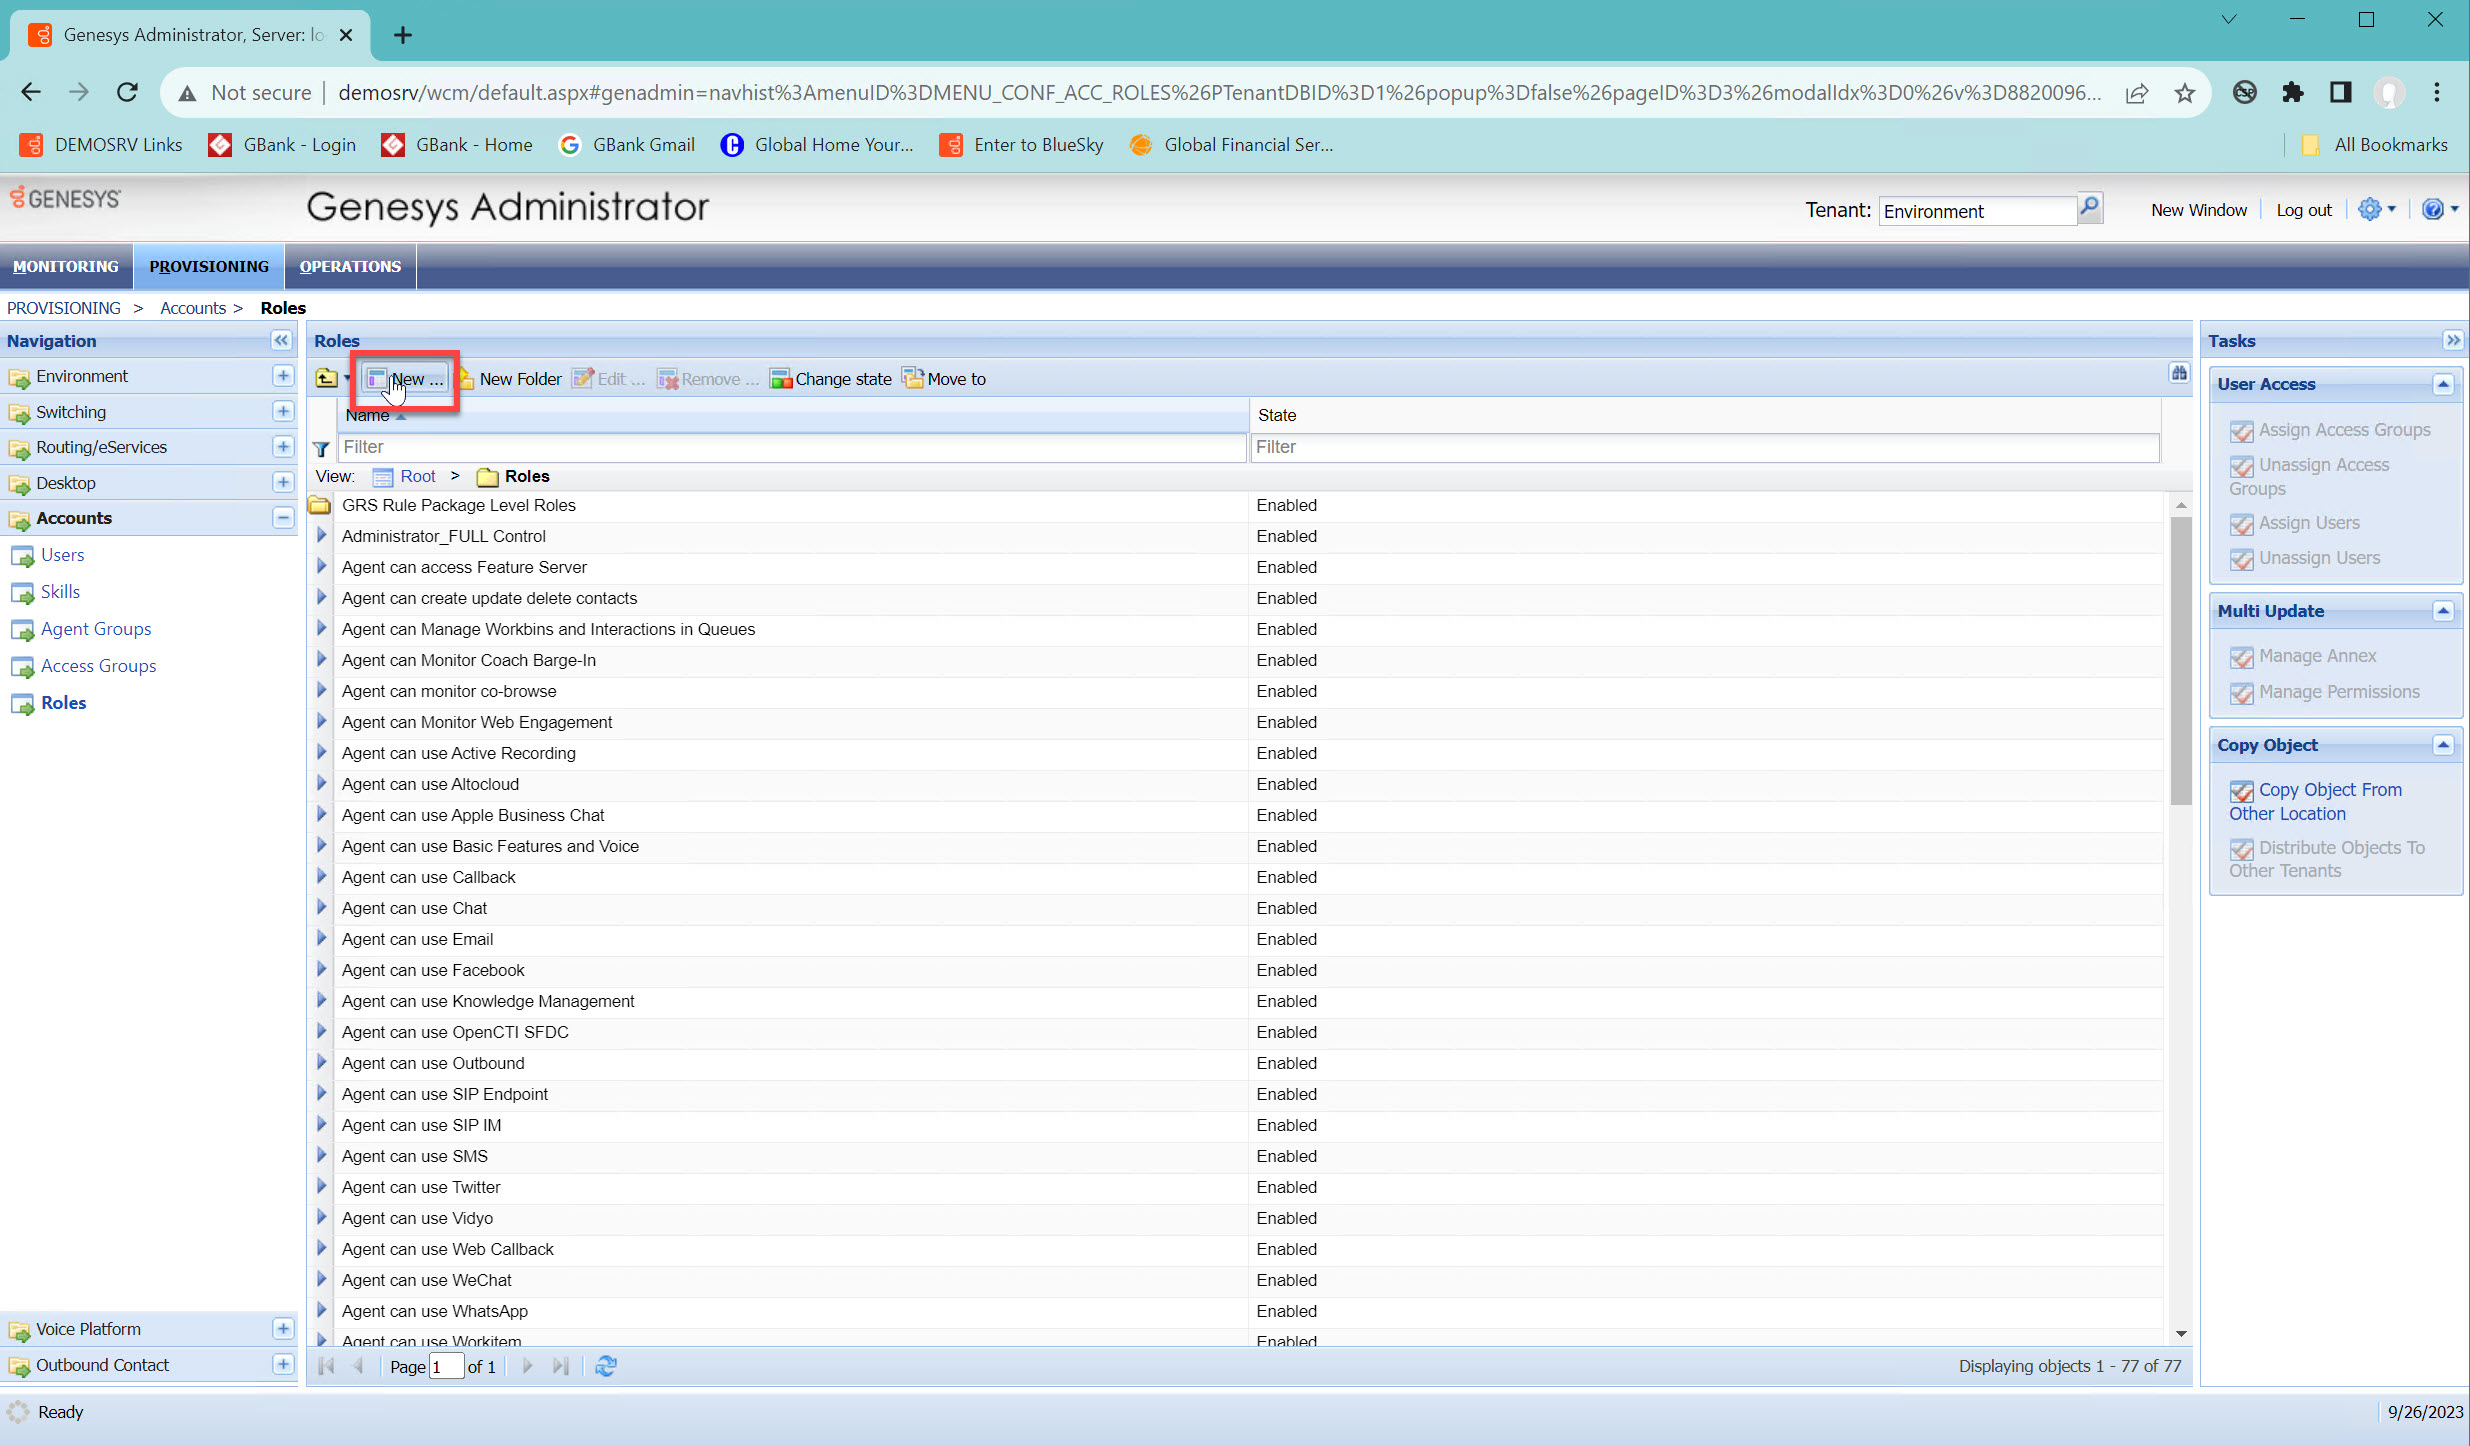
- Input GlanceRole for the Name.
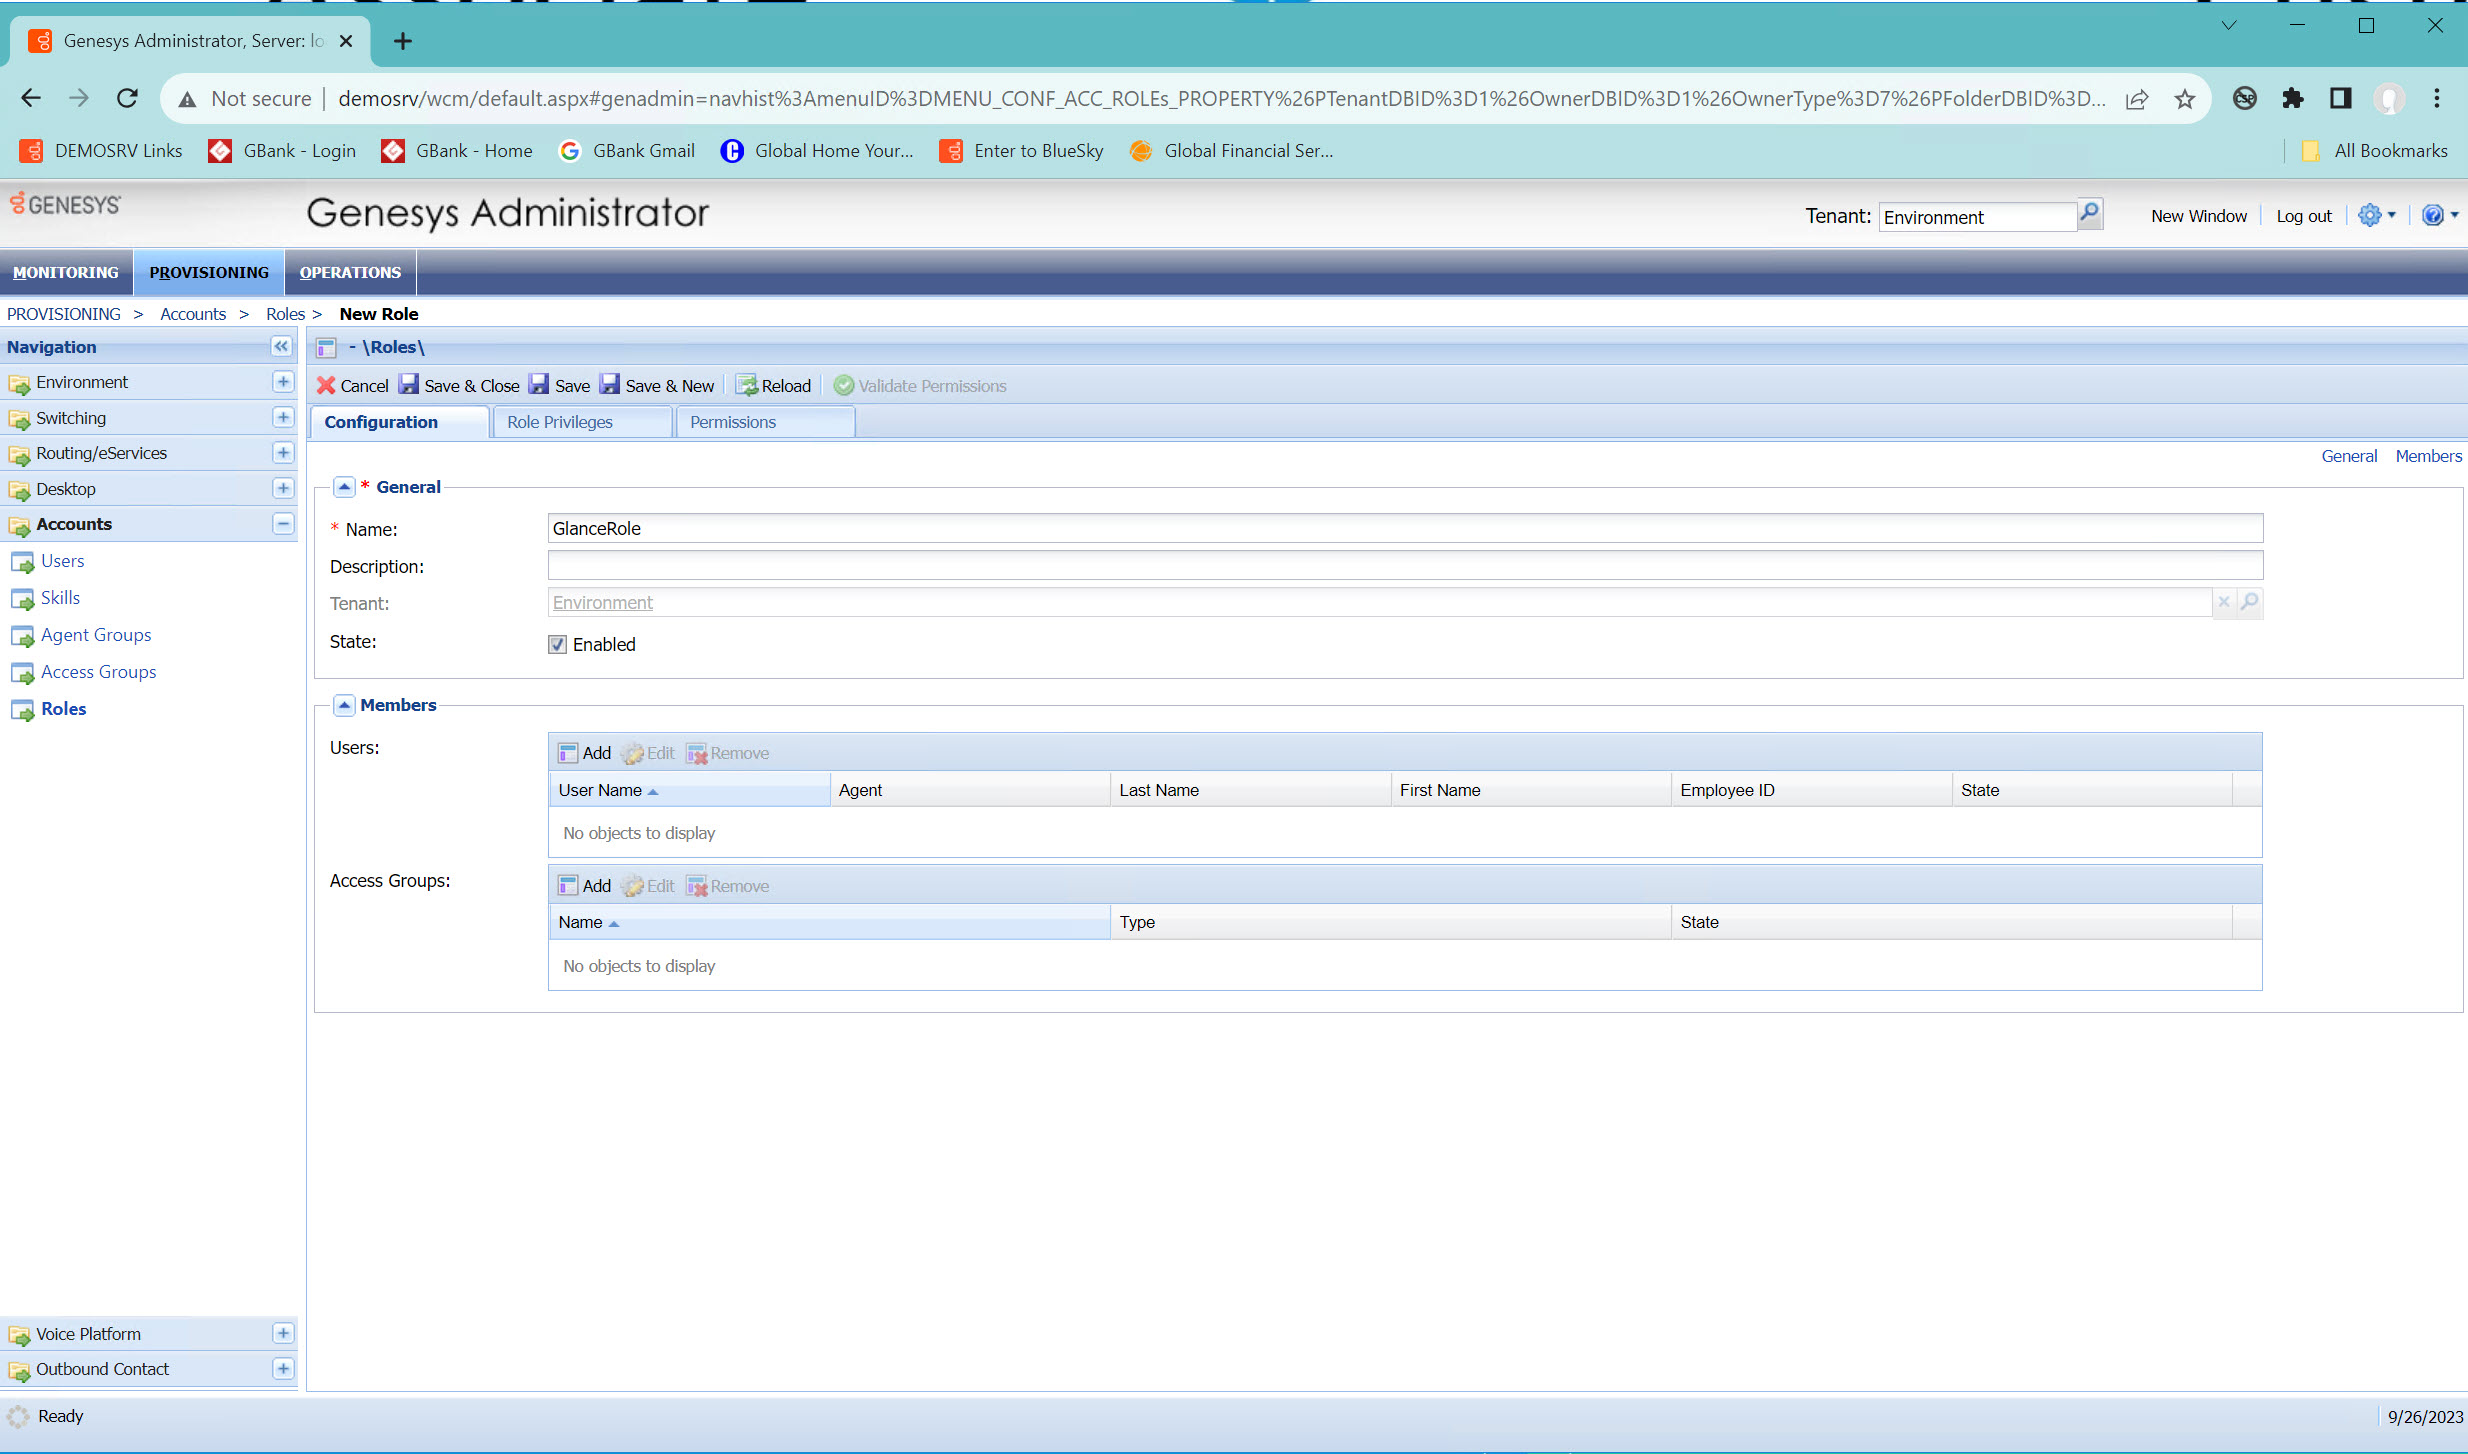
- Add the necessary members to the group.
- Click Save.


Add Privilege
- Navigate to Provisioning > Accounts.
- Click on Roles.
- Click on GlanceRole.
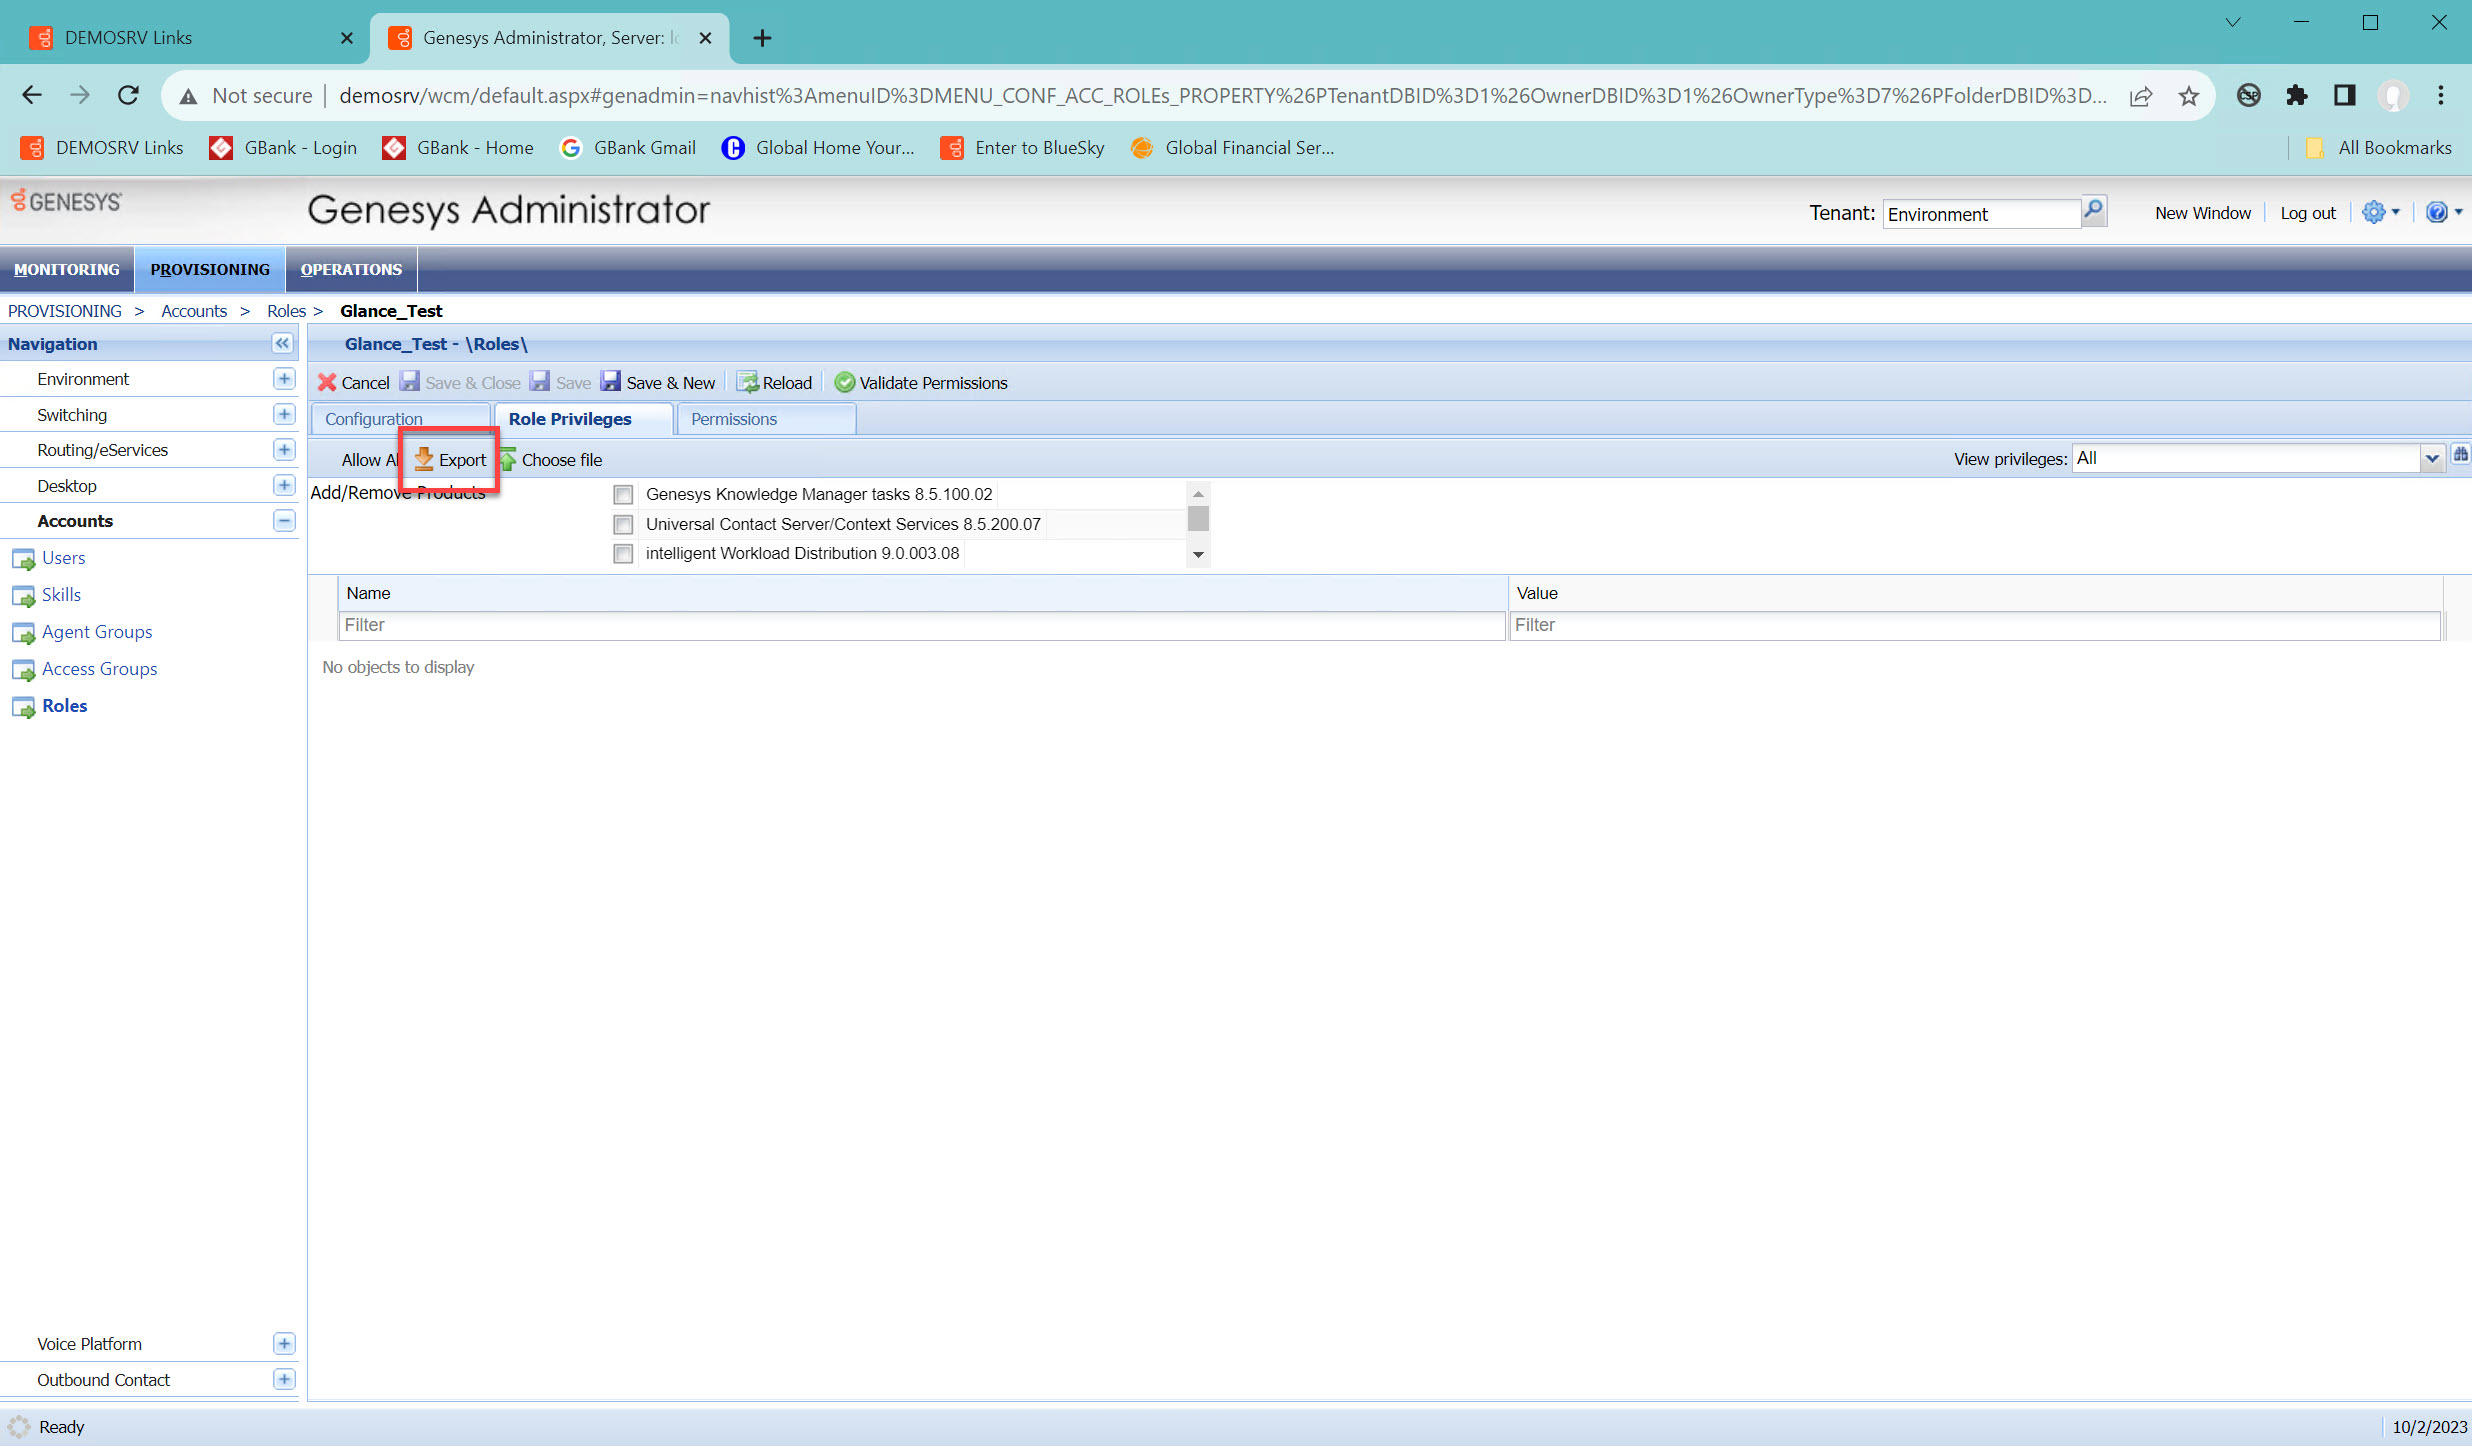
- Click the Role Privileges tab.
- Click the Export button.
- Update the file with
<?xml version="1.0" encoding="utf-8"?><userProperties><list_pair key="CfgInteractionWorkspace"><str_pair key="InteractionWorkspace.Glance.canUse" value="1" /></list_pair></userProperties>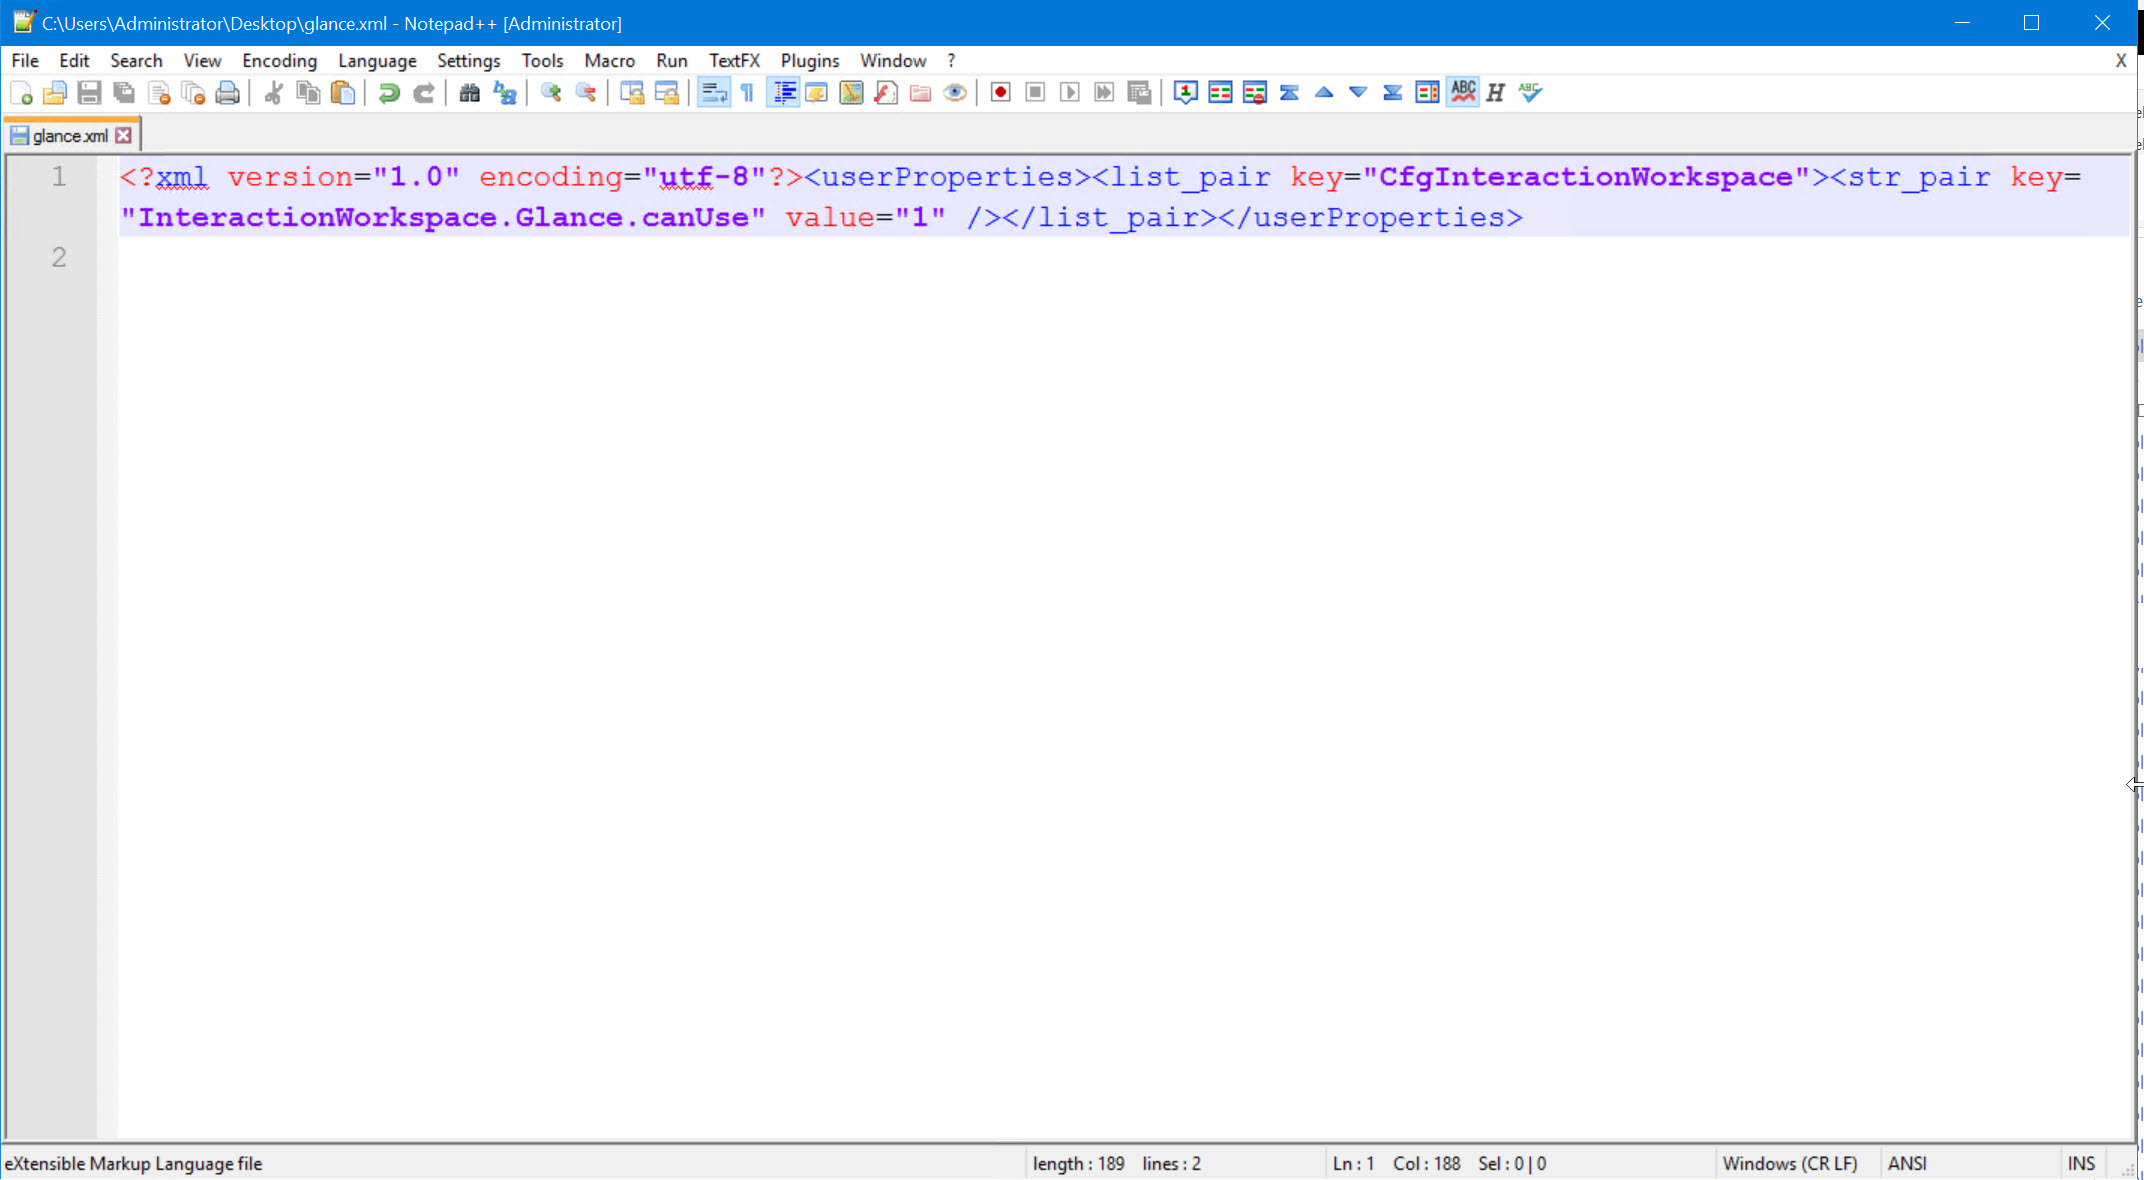
- Save as an XML file.
- Click Choose File.
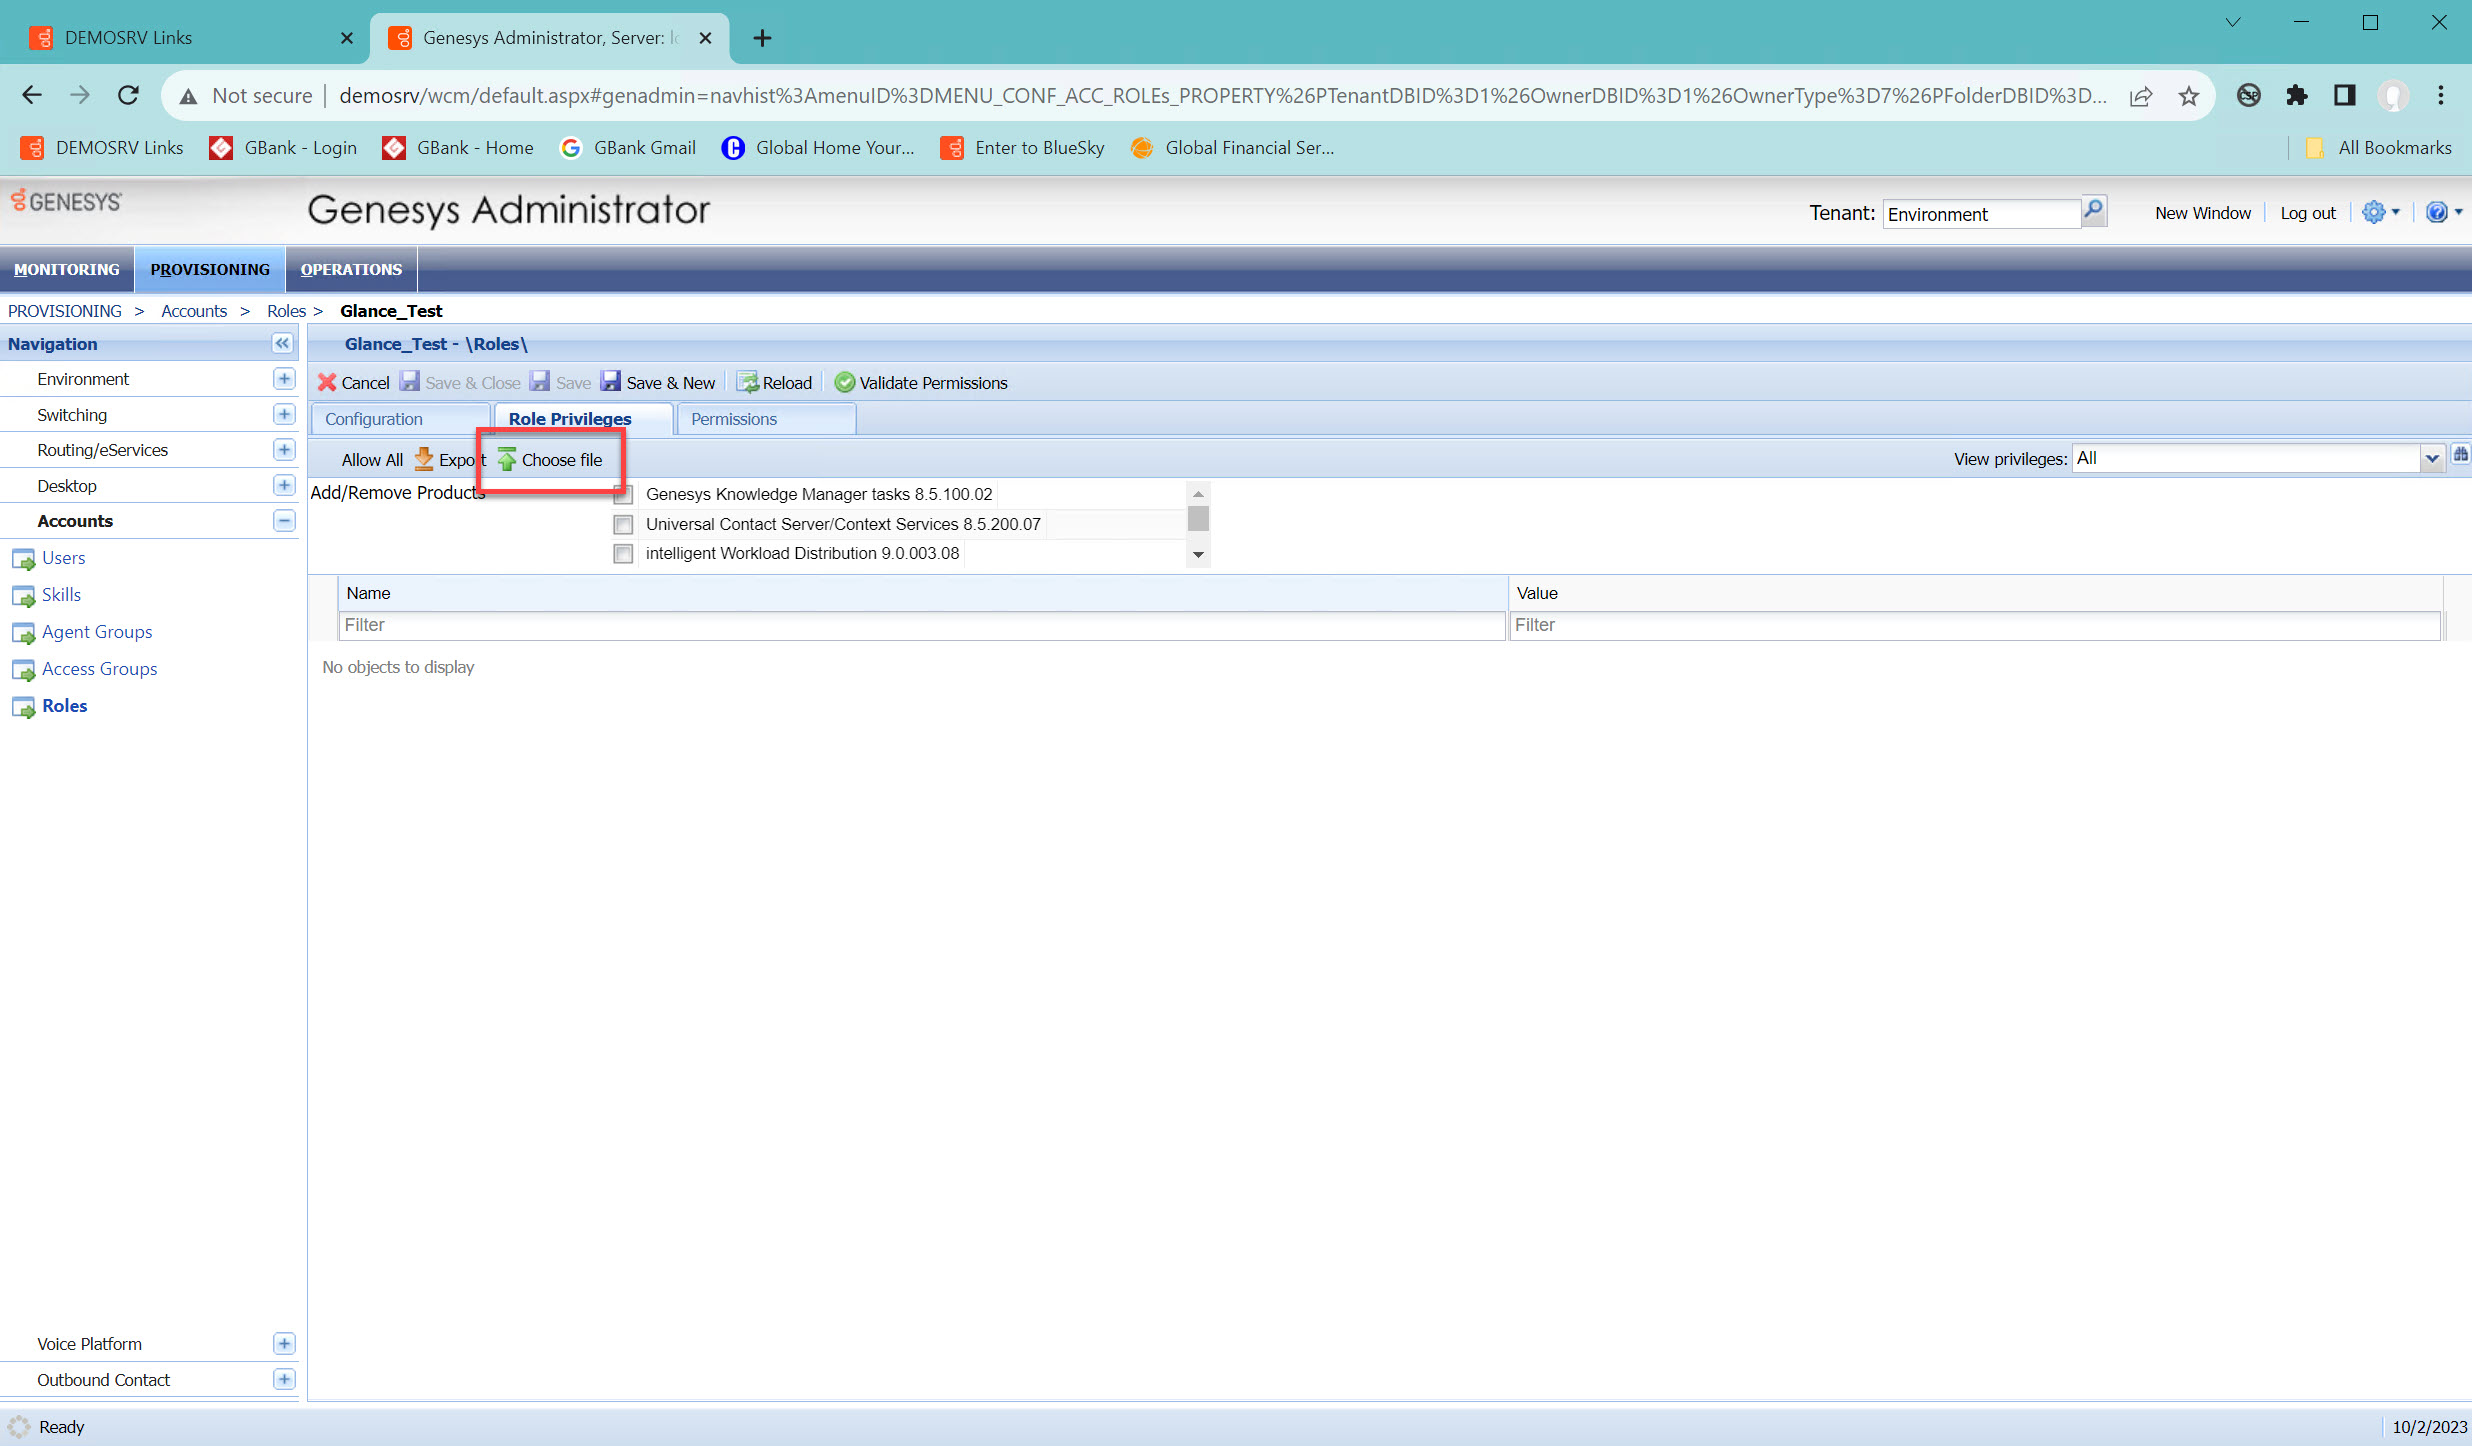
- Upload the XML file.


Setting Up Filters for Real Time Reporting with Pulse
Glance offers the ability to report on session metadata, including:
- Session Key
- Session Start Time
- Session End Time
- Duration
To view this data, you must set up the proper filters.
- Navigate to Provisioning > Environment > Applications.
- Select Stat Server.
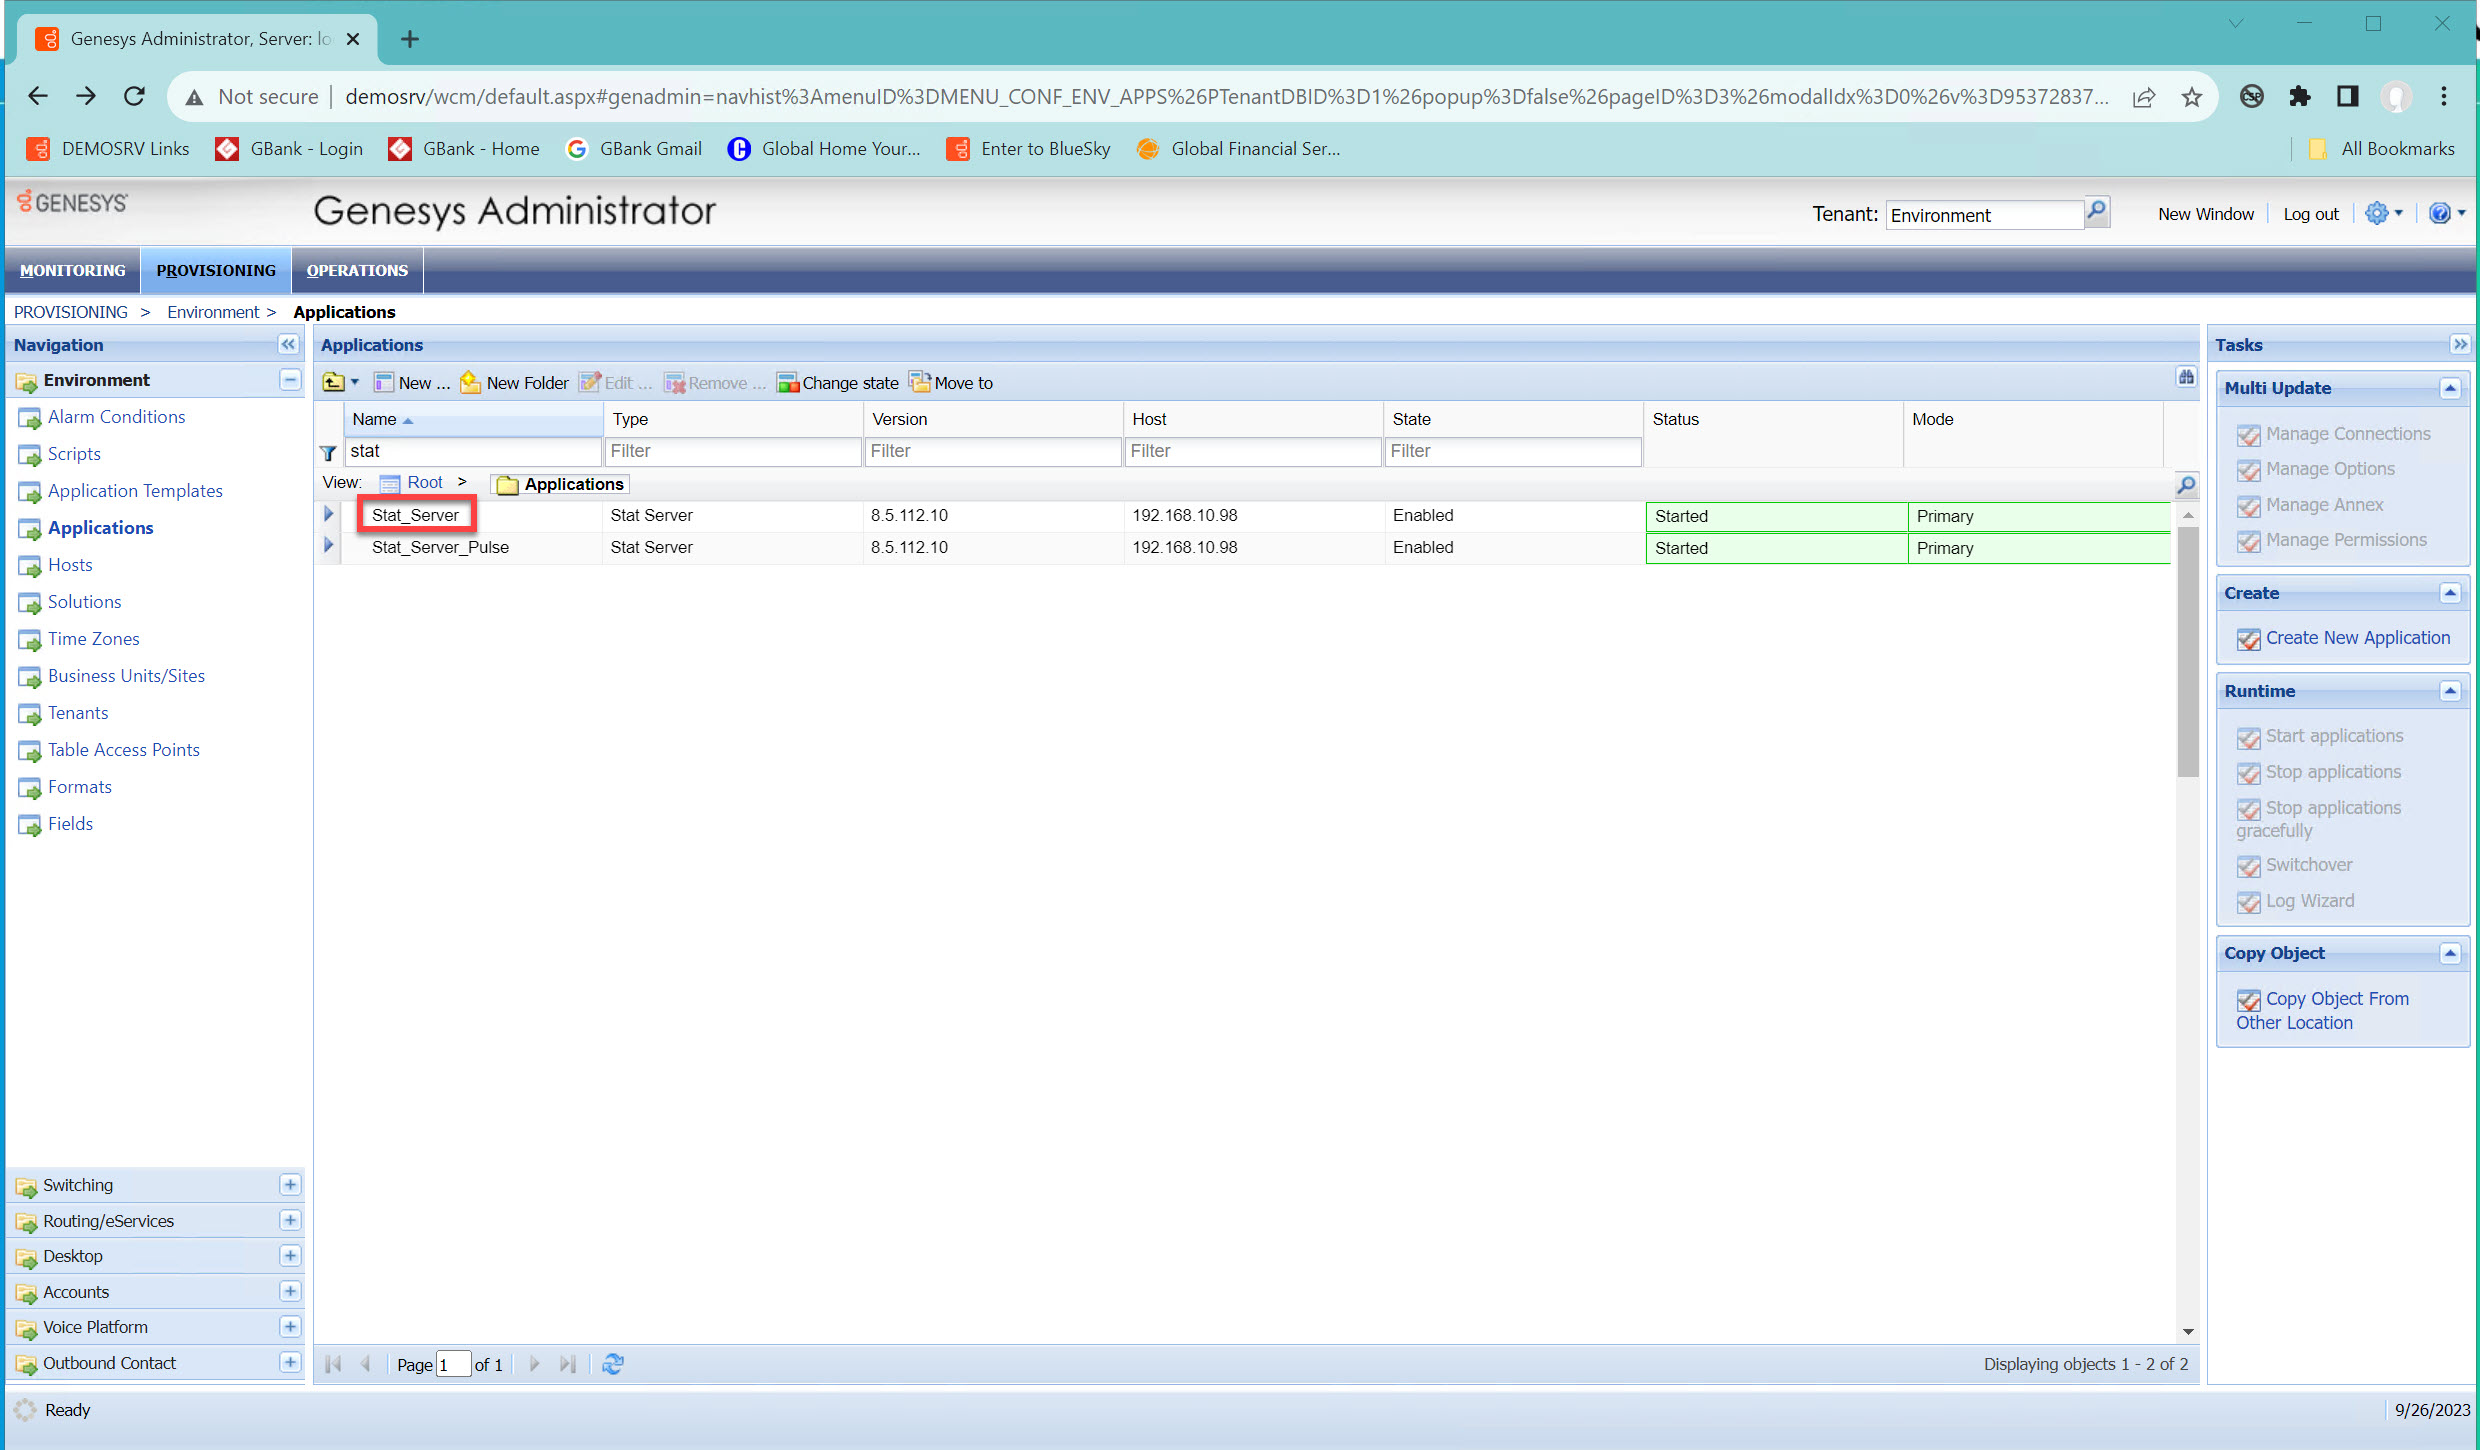
- Click the Options tab.
- Click New.
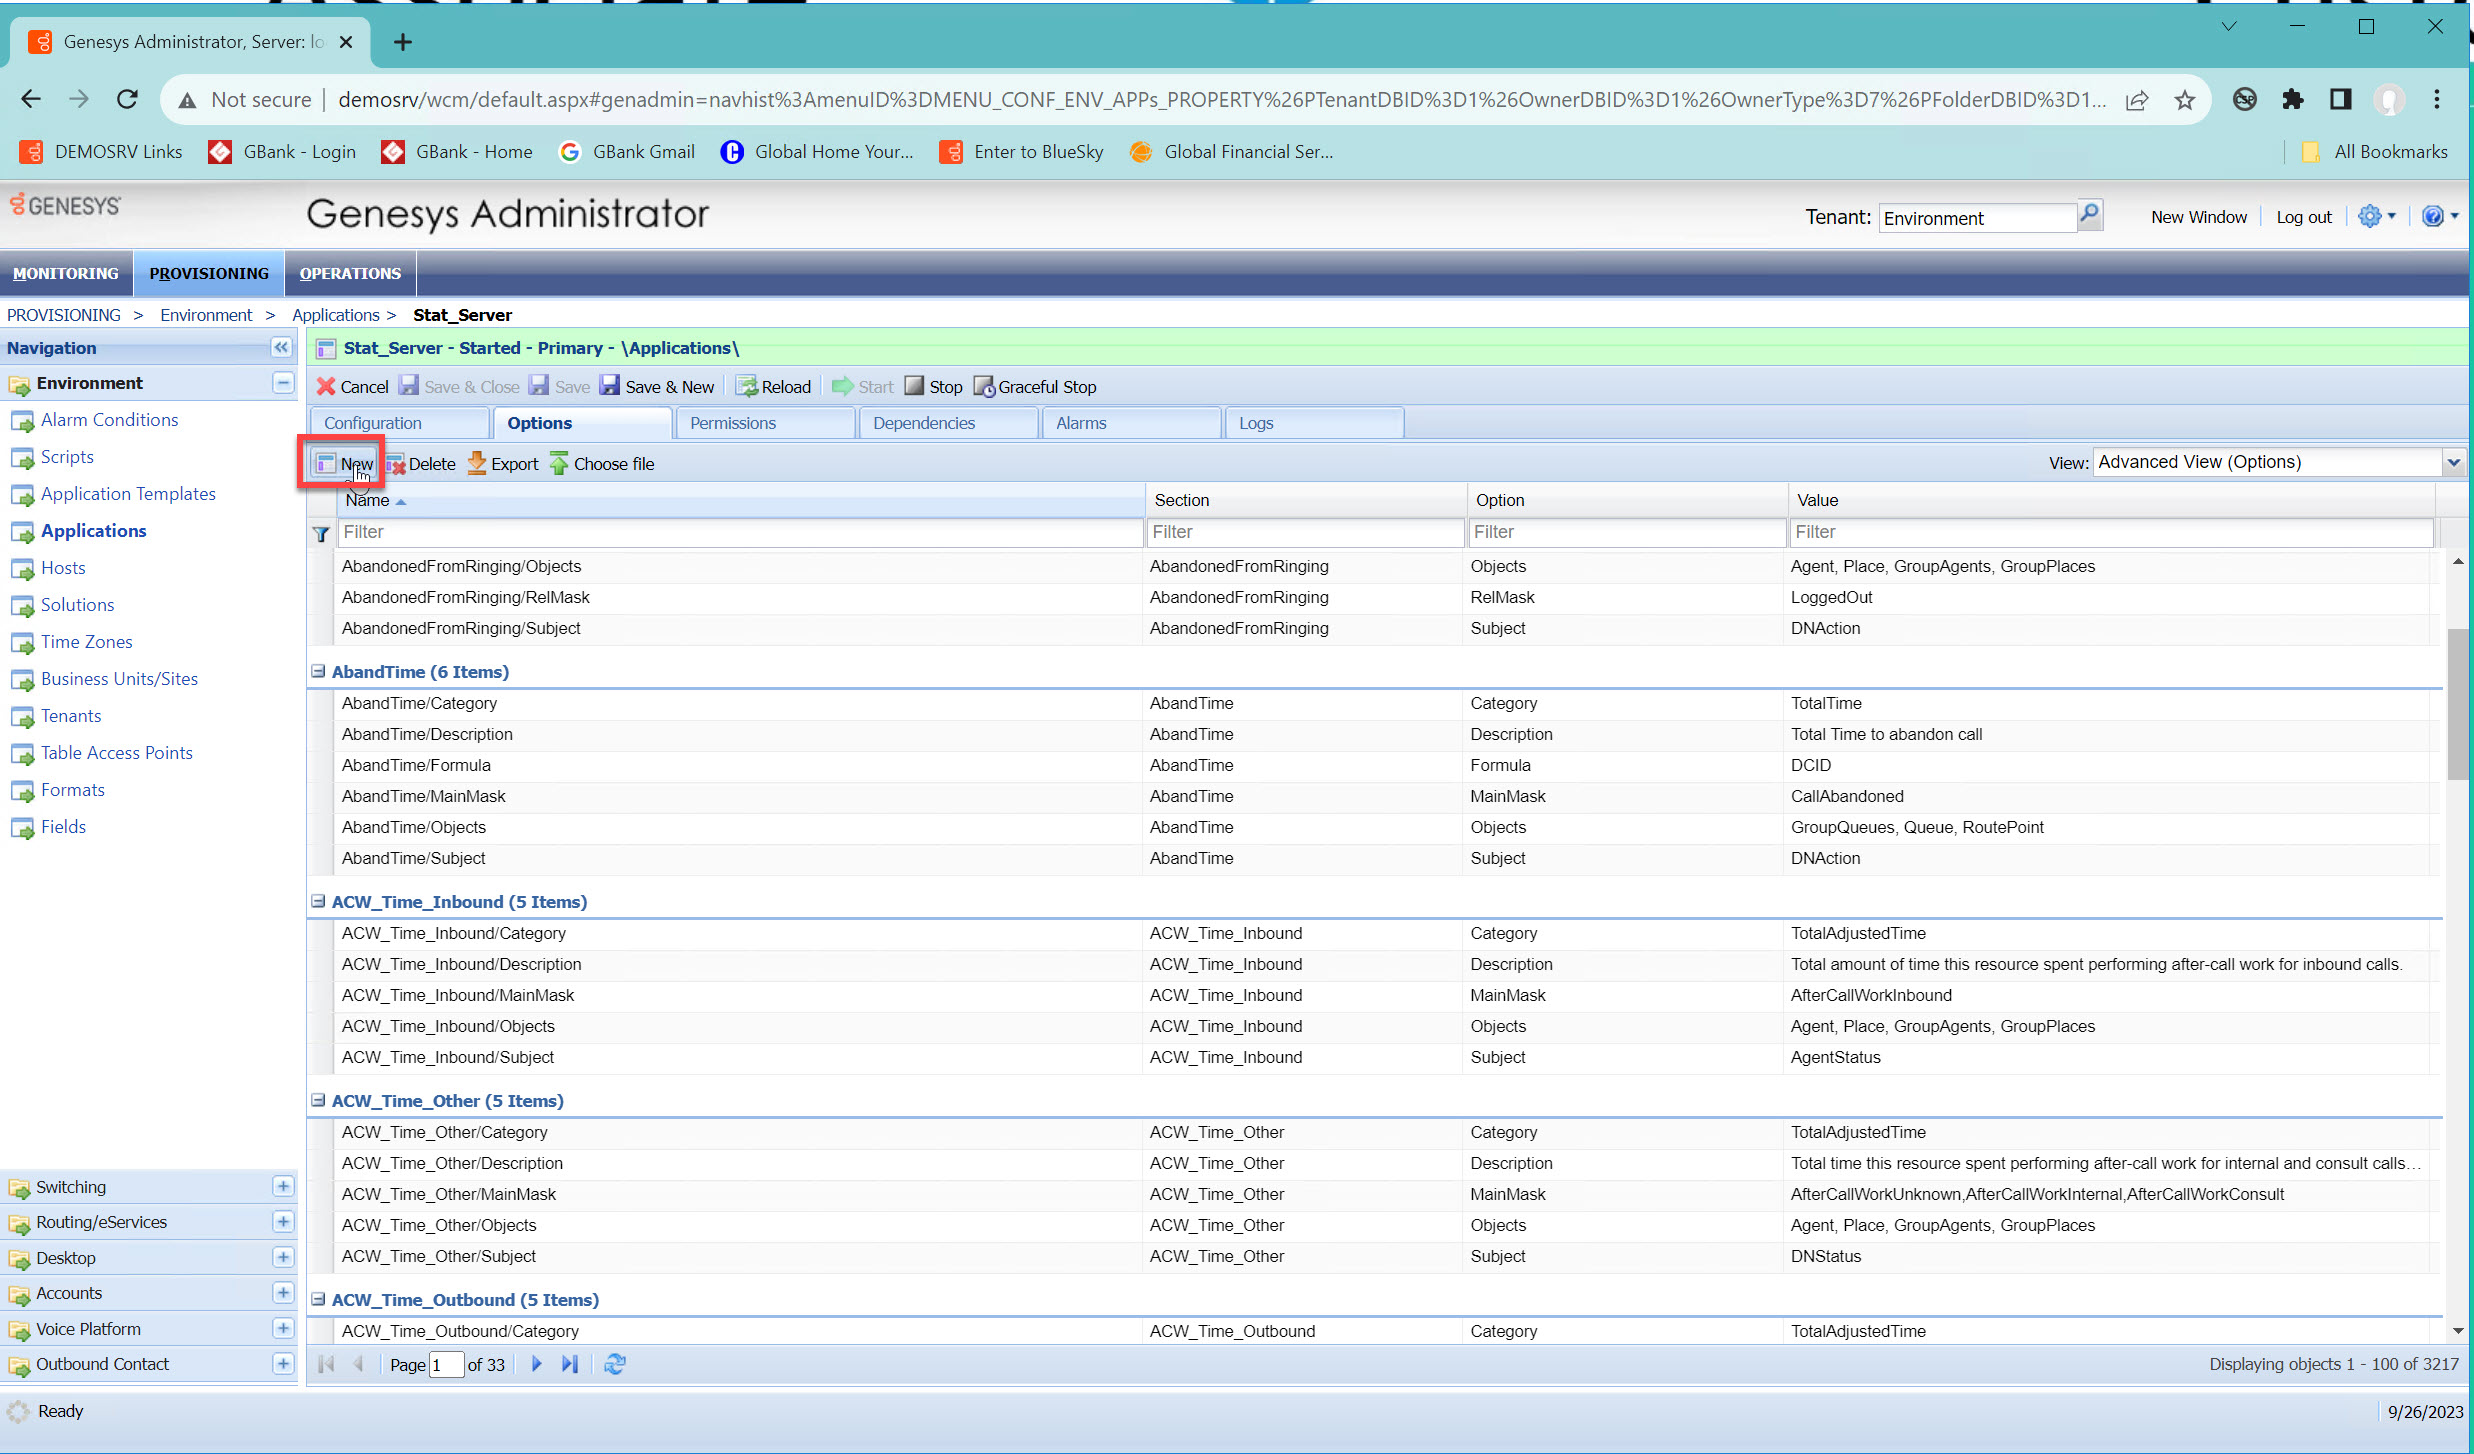
- Input the Section, Name, and Value based on the chart below.
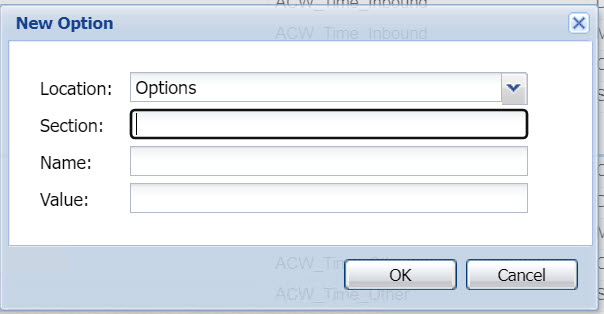


| Section | Option Name | Option Value |
| Filters | Voice_Glance | PairExists("GLANCE_REPORT_END ","*") & (PairExists("MediaType","voice") | (MediaType=voice)) |
| Filters | GlanceSession | PairExists("GLANCE_REPORT_END ","*") |
| Filters | Chat_Glance | PairExists("GLANCE_REPORT_END","*") & PairExists("MediaType","chat") |
Historic Reporting
If you are using historic reporting, such as Infomart, you must save the GLANCE_REPORT_START, GLANCE_REPORT_END, and GLANCE_REPORT_DURATION Key Value Pairs to be available for usage in calculating Glance metrics.
Time stamps for the start and end of the session are stored in Epoch format and may need to be converted to your configured date/time format for use. Here is an example of what the raw data will look like as attached data:
'GLANCE_REPORT_START'GLANCE_REPORT_DURATION [lst] = KVList: '123456789' [str] = "9826'
The first number (123456789) is the session key and the second number (9826) is the number that relates to the interaction detail data from Glance.