
Troubleshooting Glance Cobrowse with Video
To use video, the participants must enable their camera in the browser during the session. The same instructions apply for both visitors and guests.
Glance Video is only supported on a limited number of browsers for visitors and guests, see this page for more information. If the visitor or guest is on an unsupported browser, instruct them to use one of the supported browsers for best results.
Enabling the Camera for Visitors
In Chrome
-
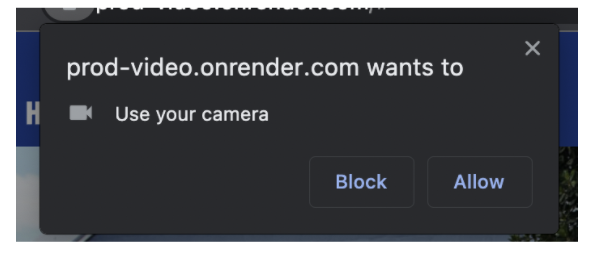
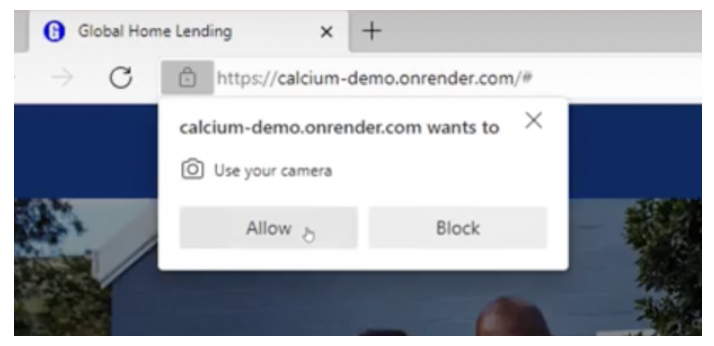
Once the cobrowse session starts, the visitor will be prompted from their browser to allow the camera.
-
The visitor clicks Allow.
-
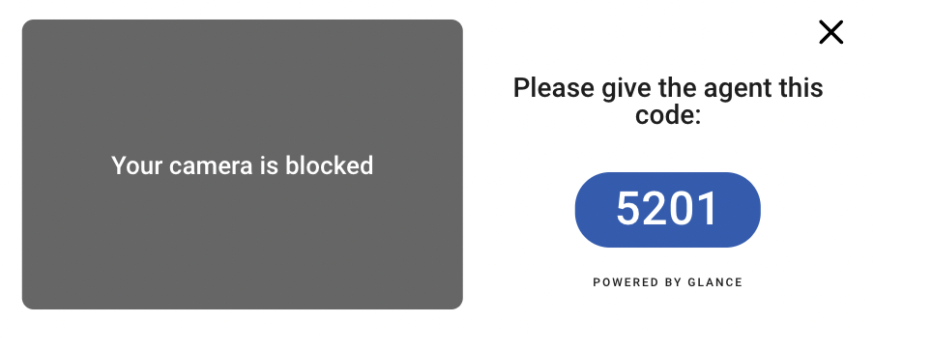
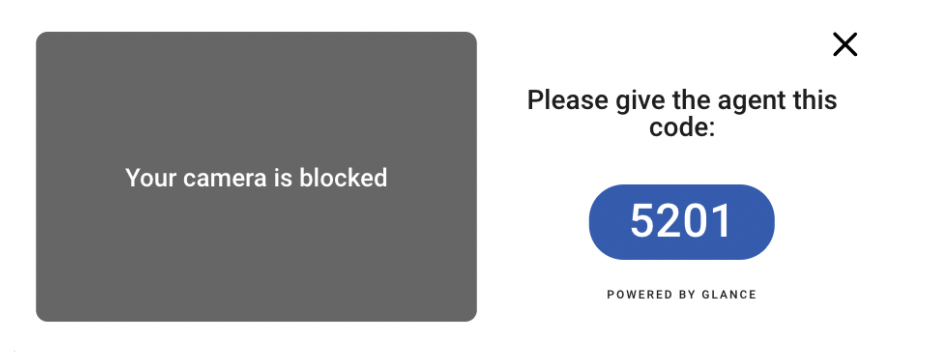
If the visitor has clicked Block, they will see a message in the video preview indicating their camera is blocked.
-
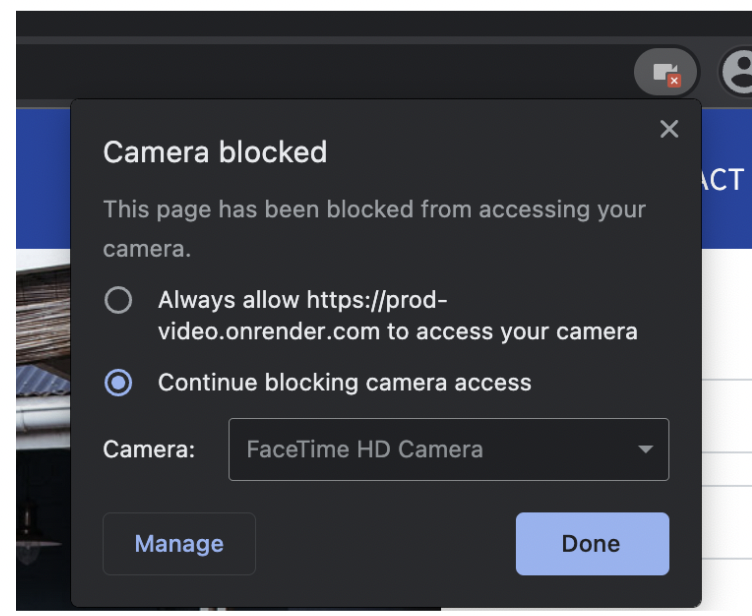
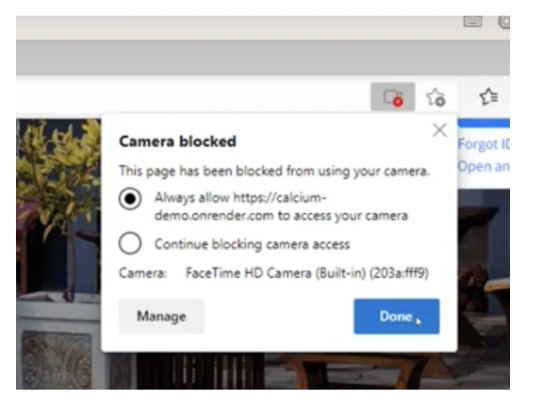
If the video has been blocked by the visitor/guest prior to joining the session, they will not be able to turn their camera back on during the session, and must start a new session to show video. To show video, the visitor will need to end the current session, click the camera icon in the top-right corner of the browser bar, and change to Always Allow>Done. Then the visitor can now start a new video session.
-
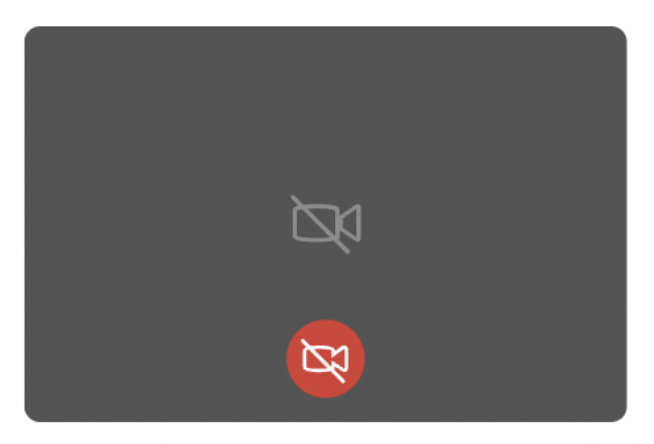
If the visitor has allowed the camera, but turned off their video, a video icon with a slash will display in the video preview for all parties. If they want to turn their video back on, they can click the red video icon at any time during the session.


Enabling the Camera in Safari (MacOS)
-
Once the Cobrowse session starts, the visitor will be prompted from their browser to allow the camera.
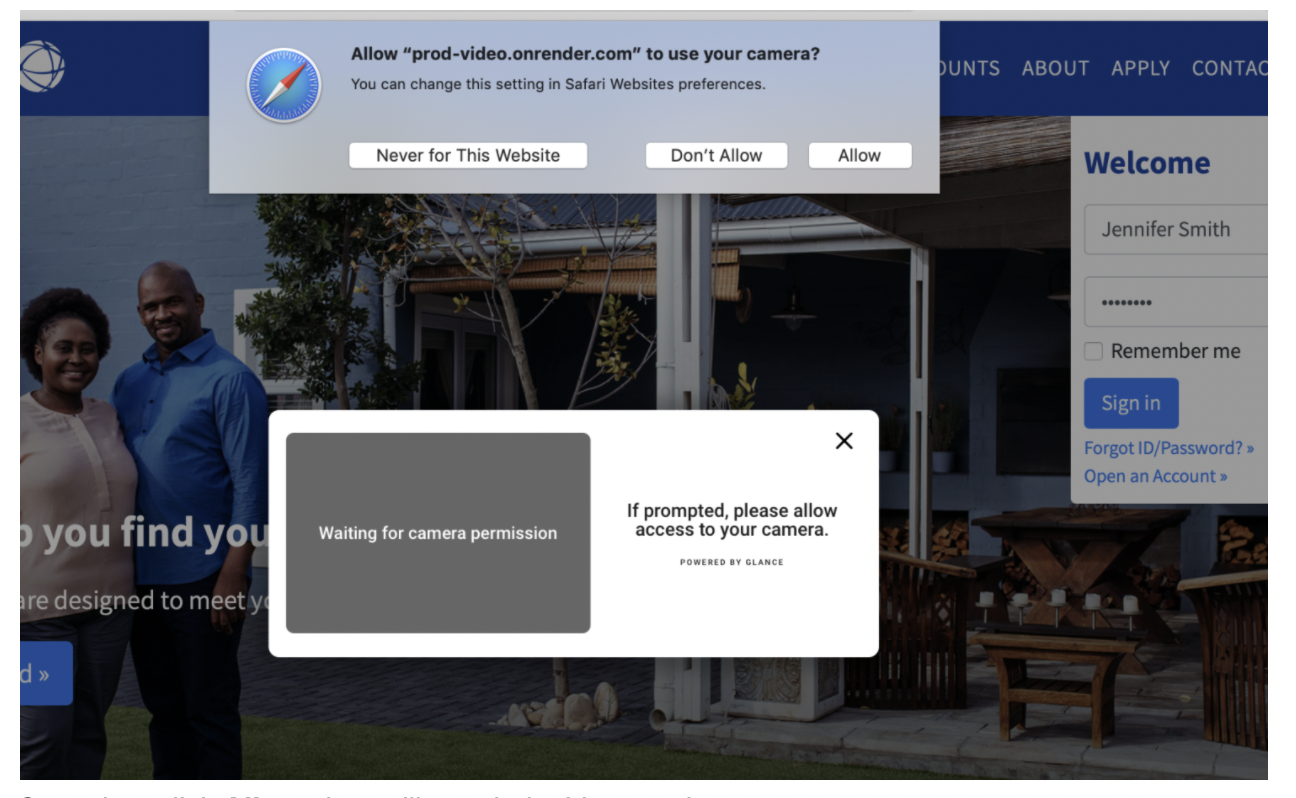
-
Once they click Allow, they will see their video preview.
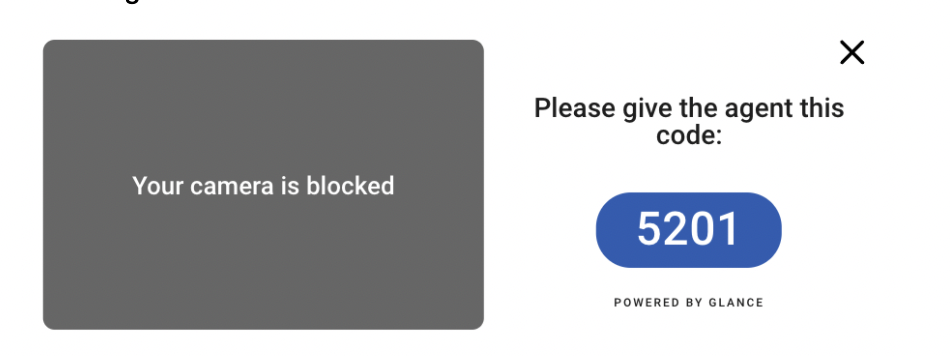
-
If the visitor has clicked Don’t Allow, they will see a message in the video preview indicating their camera is blocked.
-
If the video has been blocked by the visitor prior to joining the session, they will not be able to turn their camera back on during the session, and must start a new session to show video. To show video, the visitor will need to end the current session, click the camera icon in the top-right corner of the browser bar, and change to Allow.
-
If the visitor has allowed the camera, but turned off their video, a video icon with a slash will display in the video preview for all parties. If they want to turn their video back on, they can click the red video icon at any time during the session.


Enabling the Camera in Safari (iOS Device)
-
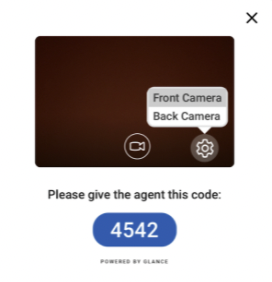
Once the visitor starts the Cobrowse session, they will be prompted from their browser to allow the camera. In Safari on iOS, the camera will show the visitor video preview by default. When the browser is accessing the camera, a red video icon displays in the top-left corner of the address bar.

-
The visitor can change the front or back camera from the gear icon.
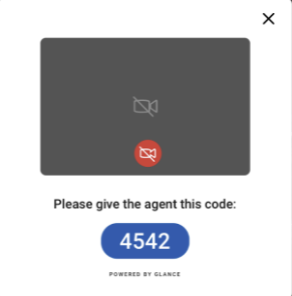
-
If the camera is blocked in the visitor browser, the video preview is gray, and there is no red video icon in the address bar.


Enabling the Camera in Edge (Windows)
-
Once the Cobrowse session starts in Edge, the visitor will be prompted from their browser to allow the camera.
-
Once they click Allow, they will see their video preview.
-
If the visitor has clicked Block, they will see a message in the video preview indicating their camera is blocked.
-
If the video has been blocked by the visitor prior to joining the session, they will not be able to turn their camera back on during the session, and must start a new session to show video. To show video, the visitor will need to end the current session, click the camera icon in the top-right corner of the browser bar, and change to Always Allow>Done.
-
If the visitor has allowed the camera, but turned off their video, a video icon with a slash will display in the video preview for all parties. If they want to turn their video back on, they can click the red video icon at any time during the session.


Enabling the Camera in Chrome (Android Device)
- Once the Cobrowse session starts in Chrome on an Android device, the visitor will be prompted from their browser to allow the camera.
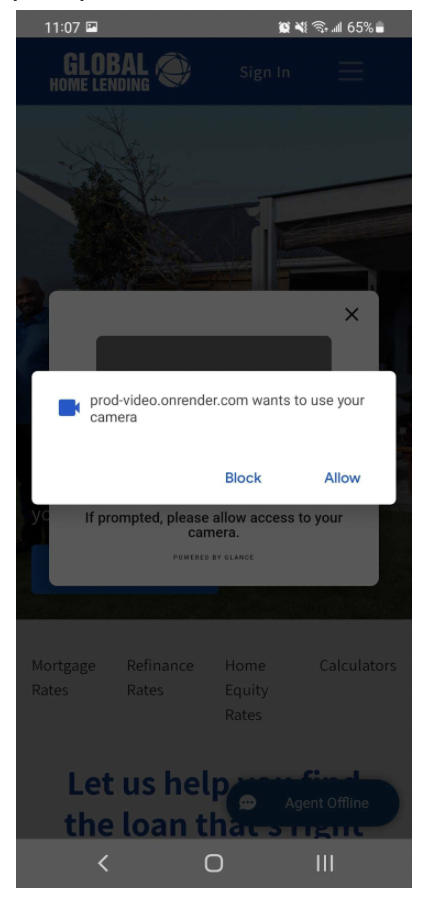
- Once they click Allow, they will see their video preview.
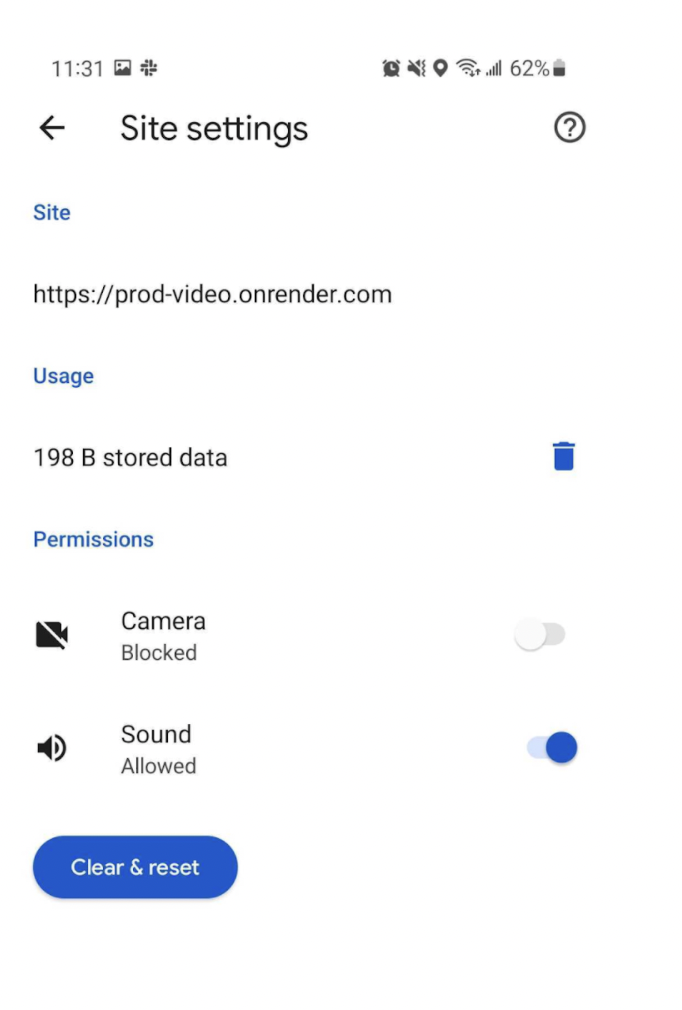
- If they click Block, the visitor can re-enable the camera from the 3 Dots in the upper right corner > Settings > Site Settings > All Sites > ”Search for the site in question” > Clear & reset.


Blurring and Video Problems
Blurring Problems
If the video is displayed, but the entire screen is blurred, try the following:
- Change your distance from the camera.
- Your full head and the upper part of your shoulders should be in the frame.
- There should be a little distance between the top of your head and the top of the frame.
- Make sure you are horizontally centered in the frame.
- Make sure you have adequate lighting.
- The room should be well lit.
- Make sure the light is coming from the front of the agent, and that the agent’s display is not the only/main source of light.
- Change your background if possible.
- Maximize the contrast between your skin/hair/clothing and the colors in your background.
Video Problems
If the video is not shown at all, try the following:
- Verify the camera is not in use by any other applications.
- Verify your browser can engage the camera.
- Navigate to this page and click the Open camera button.
- Verify your video appears on the page.
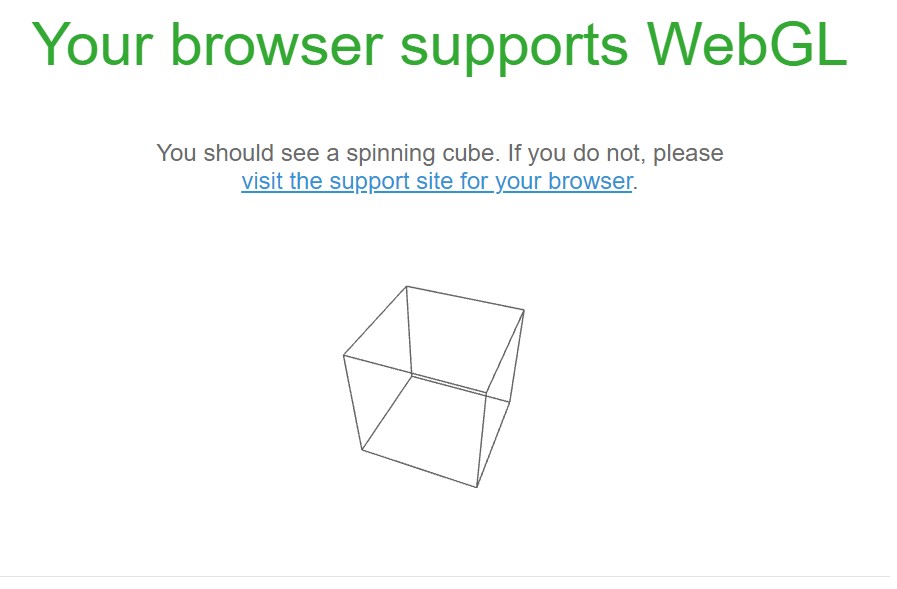
- Verify your browser supports WebGL.
- You should see a spinning cube and the words “Your browser supports WebGL” at the top of the page.
- You should see a spinning cube and the words “Your browser supports WebGL” at the top of the page.
- Navigate to https://meet.google.com/ and start an empty Google meet.
- Does the video work?
- Does blurring work?
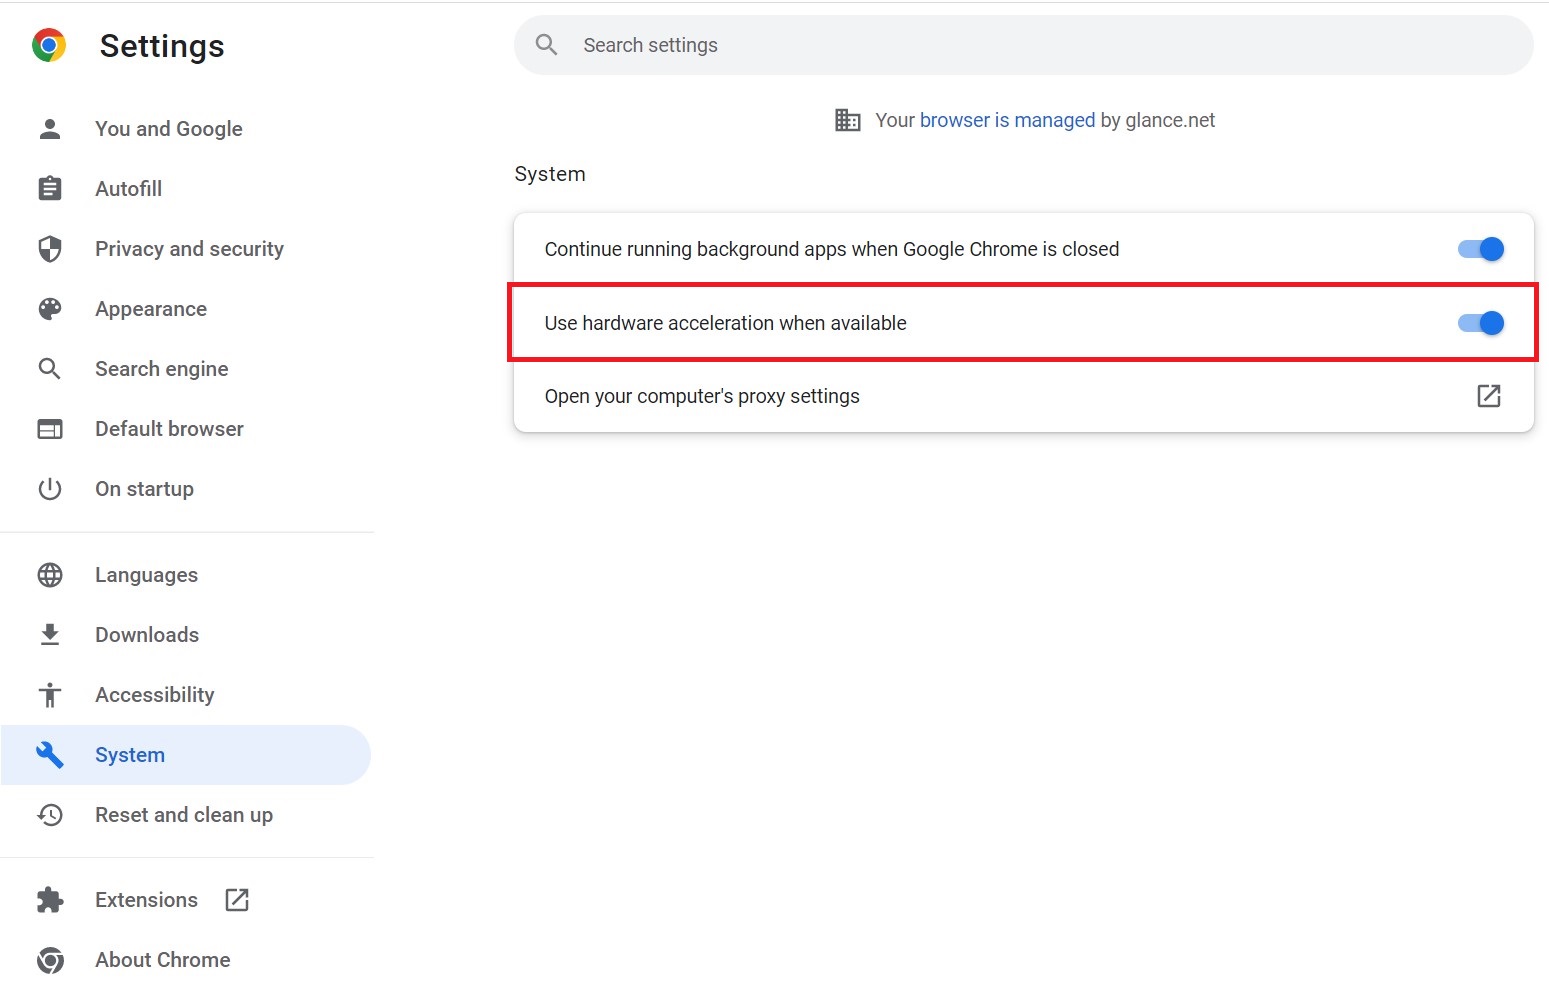
- Verify hardware acceleration is enabled in Chrome.
- Navigate to Settings>System and enable Use hardware acceleration when available.
- Navigate to Settings>System and enable Use hardware acceleration when available.
Open A Support Ticket
Open a support ticket to glance by emailing support@glance.net if the steps for Video Problems and Blurring Problems did not resolve the issue. Include the following information for each impacted agent:
- The agent’s Glance username and description of the problem.
- What is the nature of the issue?
- When did it start occurring?
- How often does it occur (e.g., always, sometimes, etc.)?
- The following hardware specifications for the agent:
- OS and Version
- Hardware model
- CPU, GPU, and RAM
- The GPU log from the agent’s machine, located at chrome://gpu/
- A screenshot of the WebGL report from the agent’s machine.
- A screenshot of the console tab during the impacted session.
- Right-click anywhere within the agent view window and choose Inspect.
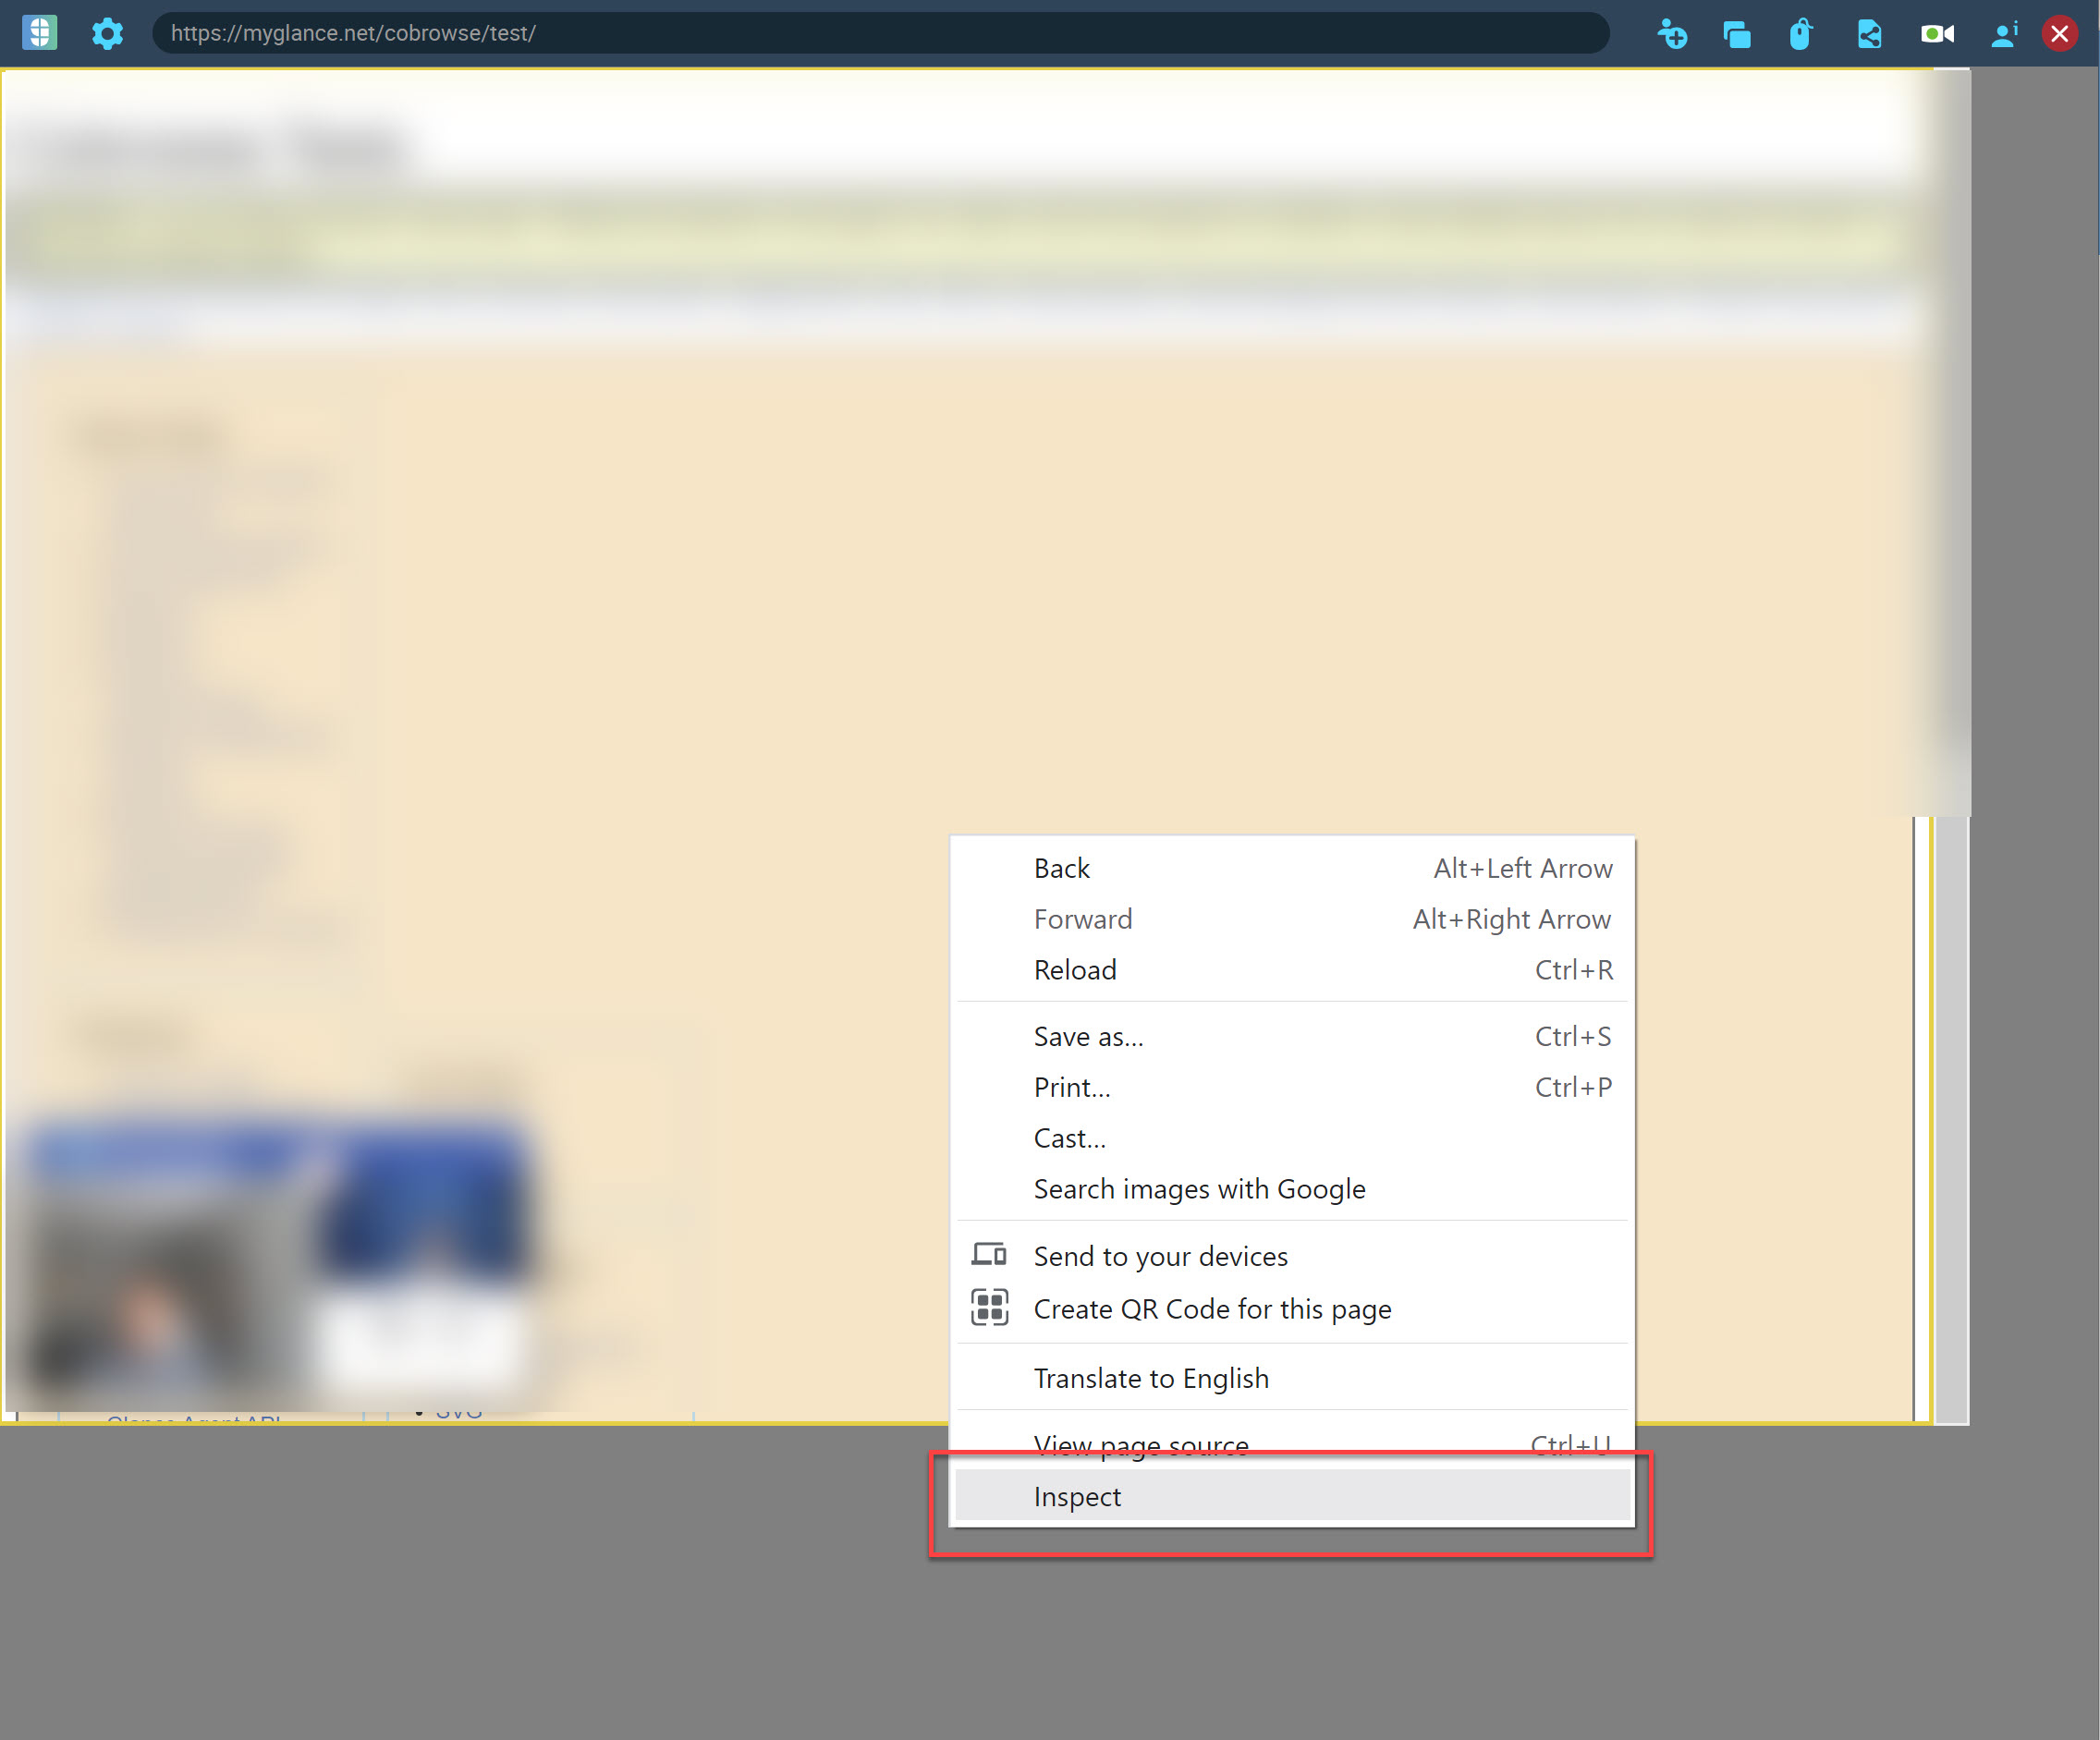
- Select the Console tab.
- Right-click within the Console tab and choose Save as...

- Save the file and include it in your support email.
- Right-click anywhere within the agent view window and choose Inspect.

