
Adding A Guest
If additional participants would like to join the session, the agent can send the guest an invite to join the Cobrowse session.
-
To add guests, as the agent, click the Add Guest button in the top-right corner of the agent viewer.

-
The visitor will receive a modal asking them to Allow the agent to add a guest?. They must click Yes to proceed.

-
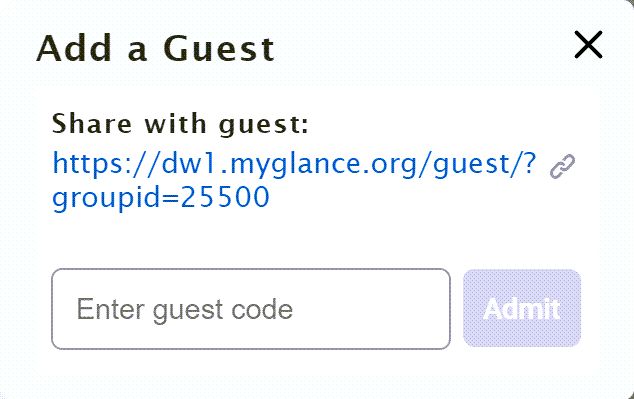
Copy the URL underneath Share with guest: and send it to the guest.
-
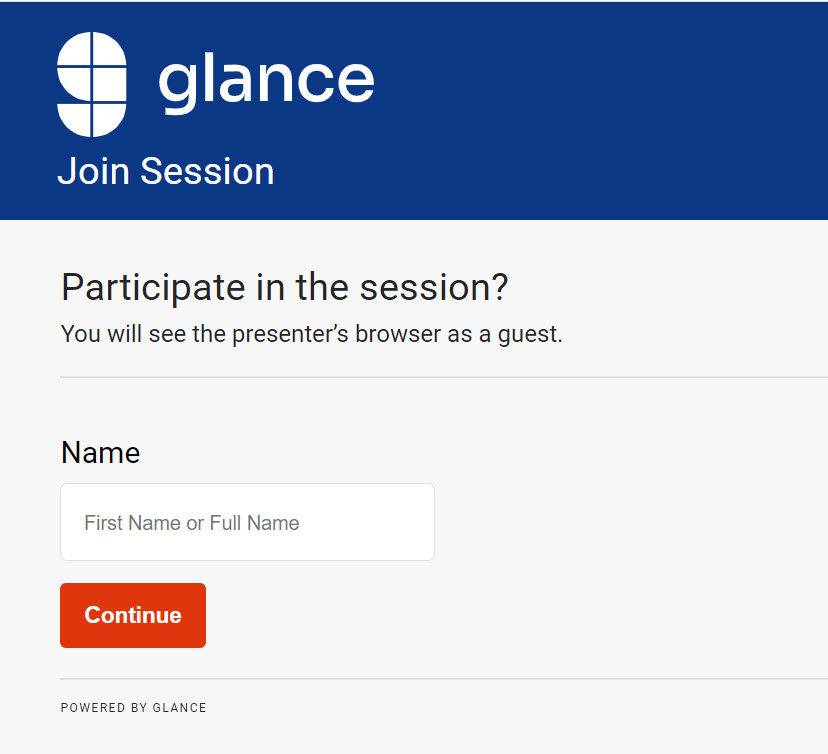
The guest will be prompted to enter their name and then click Continue.
-
Once the guest enters their name, a code is displayed.

-
The agent enters the code from the guest in the Enter the code given to them: field and clicks Admit.
-
The guest will be given the option to join the session with their video enabled or disabled by clicking Continue or No thanks. The guest can choose which camera they want to use from the gear icon.
-
If needed, the agent can turn off video for guests or visitors by clicking the Video off icon.

-
The agent can also eject the guest by clicking the Eject button.


Hosting Guest Join Page on Your Own Domain
Glance offers the option to have the Guest Join Page hosted on your own domain.
- Contact your Glance representative to have the necessary changes configured.
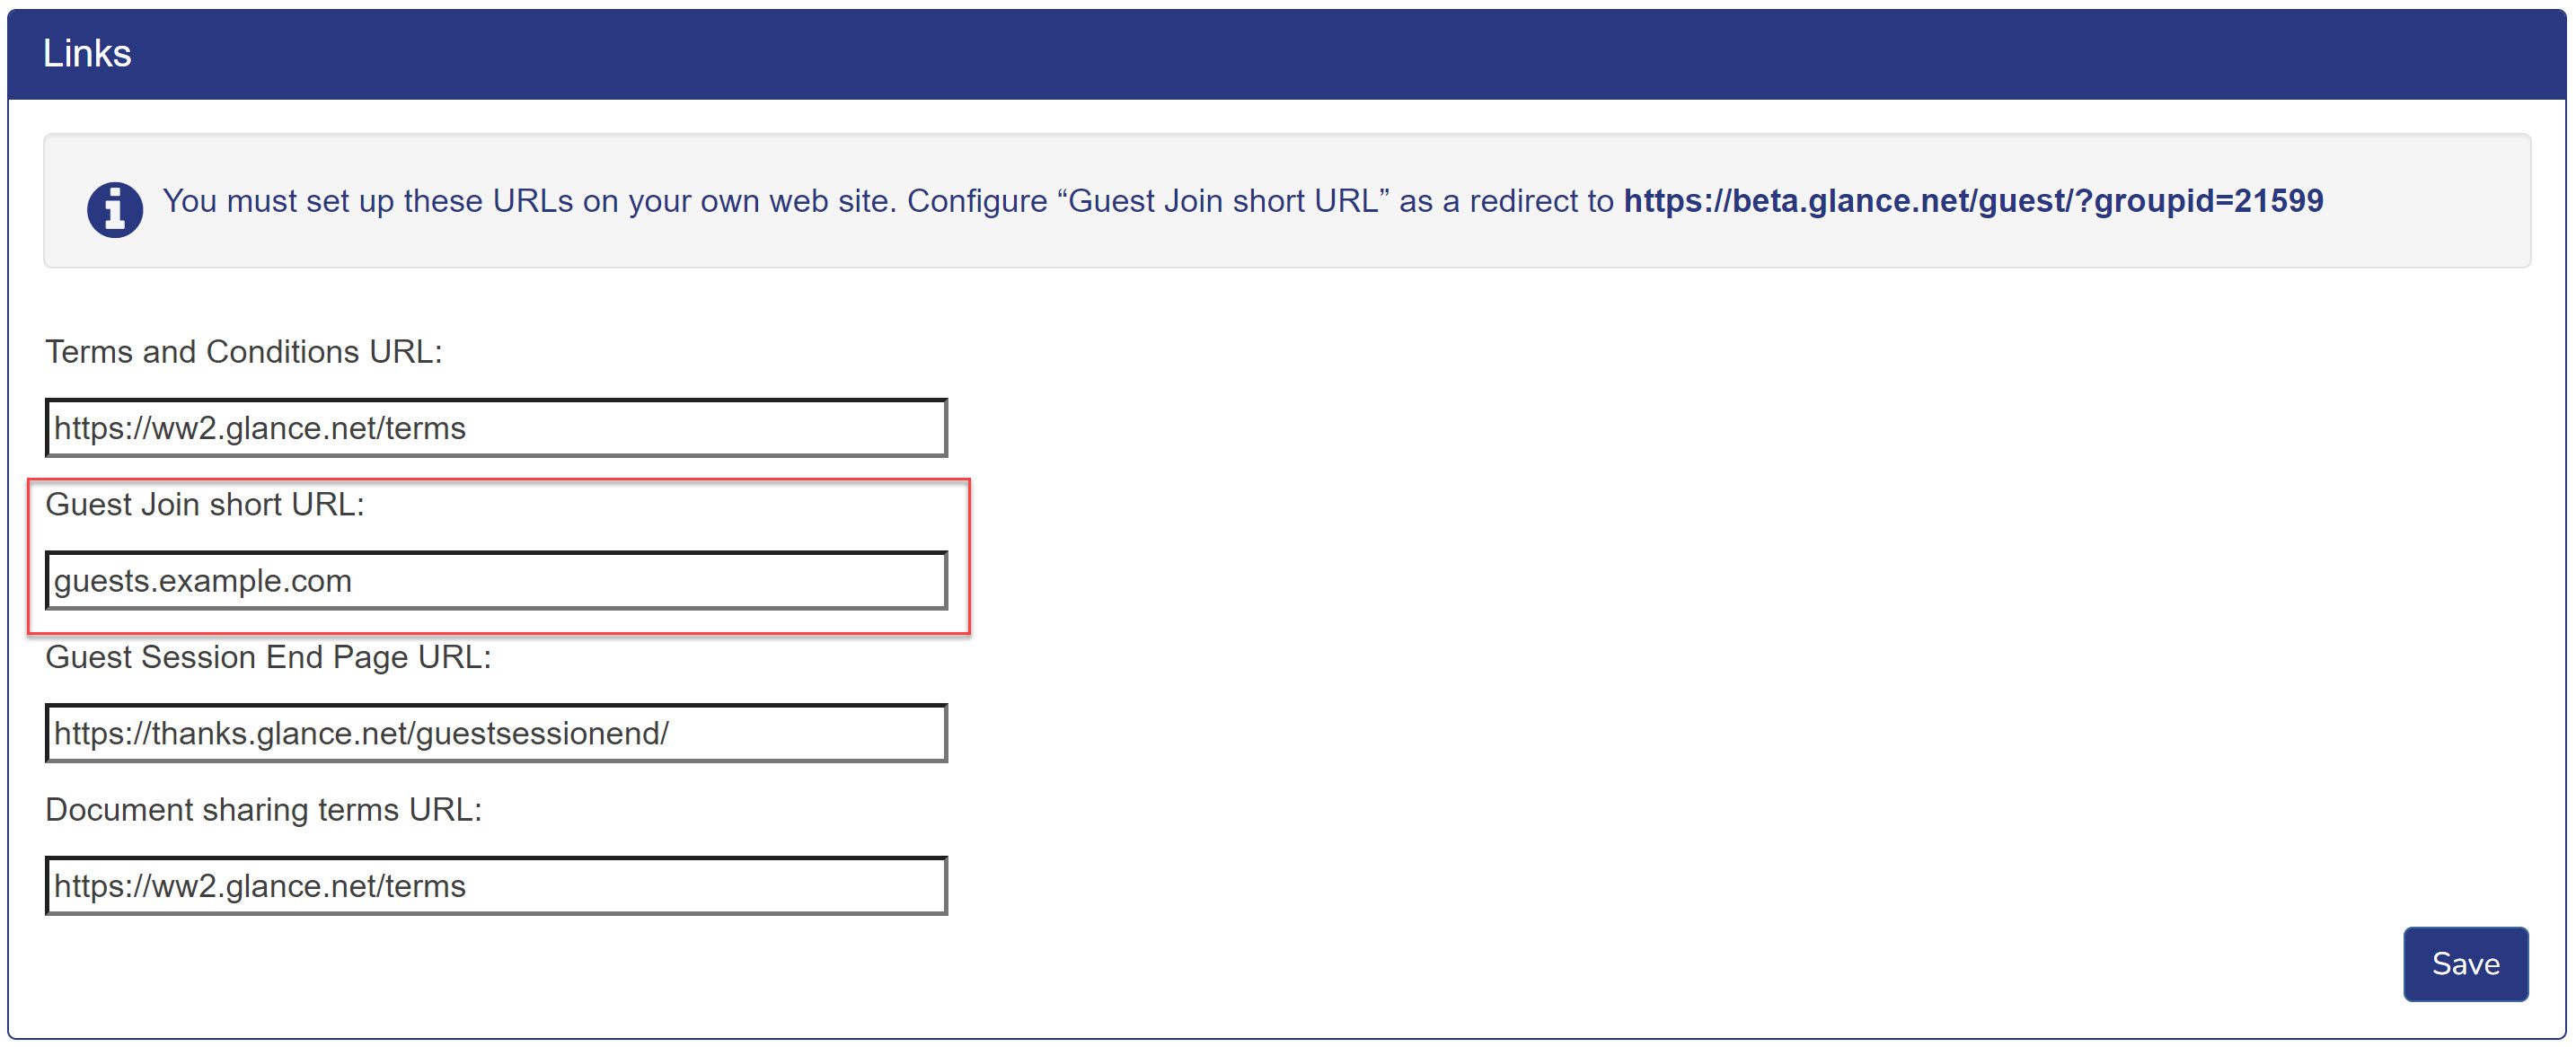
- After confirmation of the change is received from your Glance rep, navigate to Account Management > Settings > Manage your cobrowse settings and scroll down to the Links section.
- Update the Guest Join short URL with the new page.
- Add
allow="camera*"to the iframe element. See the below example.

 <iframe
      src="https://www.glance.net/guest/?groupid=12345"
      allow="camera *"
    ></iframe>